Our dough recipe with lots of detail!
This is our go to recipe for our events when we need to make a lot of pizzas with consistency that are easy to handle under stress.

One of the things I love about making pizza is trying out recipe variations. I especially like learning from others and reading about different methods. When it comes to running an event where I have to produce a lot of pizzas with consistency and perhaps have less experienced people helping to make them then I need a dough that is easy to work with and less likely to go wrong.
A good dough starts with good flour. My go to flour is Shipton Mill 00 Italian White. It is a finely ground strong white flour and is very extensible as well as being strong enough to hold its shape. I use a hydration percentage of 60% and with 2.7% salt. This recipe is what is known as a 'direct dough' where all the dough is fermented together rather than using a pre ferment such as a poolish or biga.
I tend to ferment my dough at room temperature rather than a longer fermentation in the fridge. Cold temperature slows down the fermentation process and adds new flavours to the dough. This is something you might want to experiment with. For my events I work at room temperature partly because I don't have the fridge space to store all the doughs. In another post I will compare and contrast the two methods and see if we can find a difference in the flavour.
My dough is mixed using a stand-mixer and I put in the water first (which contains the salt) and then the flour (which contains the instant dried yeast). I mix on a single speed for exactly 12 minutes. The result is a smooth, non-sticky, dough that has good gluten development. Having a good strong gluten network and not using very much yeast gives us a longer fermentation for flavour and a long window where the dough balls will be good to use without too much risk of over-proofing or weakening. Other people mix the yeast into the water and add the salt at the end but I don't think it makes any difference.
You don't have to use a mixer. The reason I do for the events is because I need good control over the results and it is very hard work to mix enough dough for 200 pizzas by hand!
The Recipe
This recipe will make 7 dough balls of 220g each for 10 inch pizzas.
I am making an assumption that your room temperature is about 20 degrees centigrade. If your room is much colder or warmer then you will need to adjust the amount of yeast you use and perhaps also use warmer or colder water. Please feel free to ask questions in the comments.
If you cannot get Shipton Mill flour then alternatives are Caputo Pizzeria or perhaps try Doves Farm Pasta Flour. As long as it is a strong flour you should get good results. If you look at the label you want a protein percentage of close to 12% or a 'W" rating of around 320. The Shipton Mill 00 is about 11.5% protein.
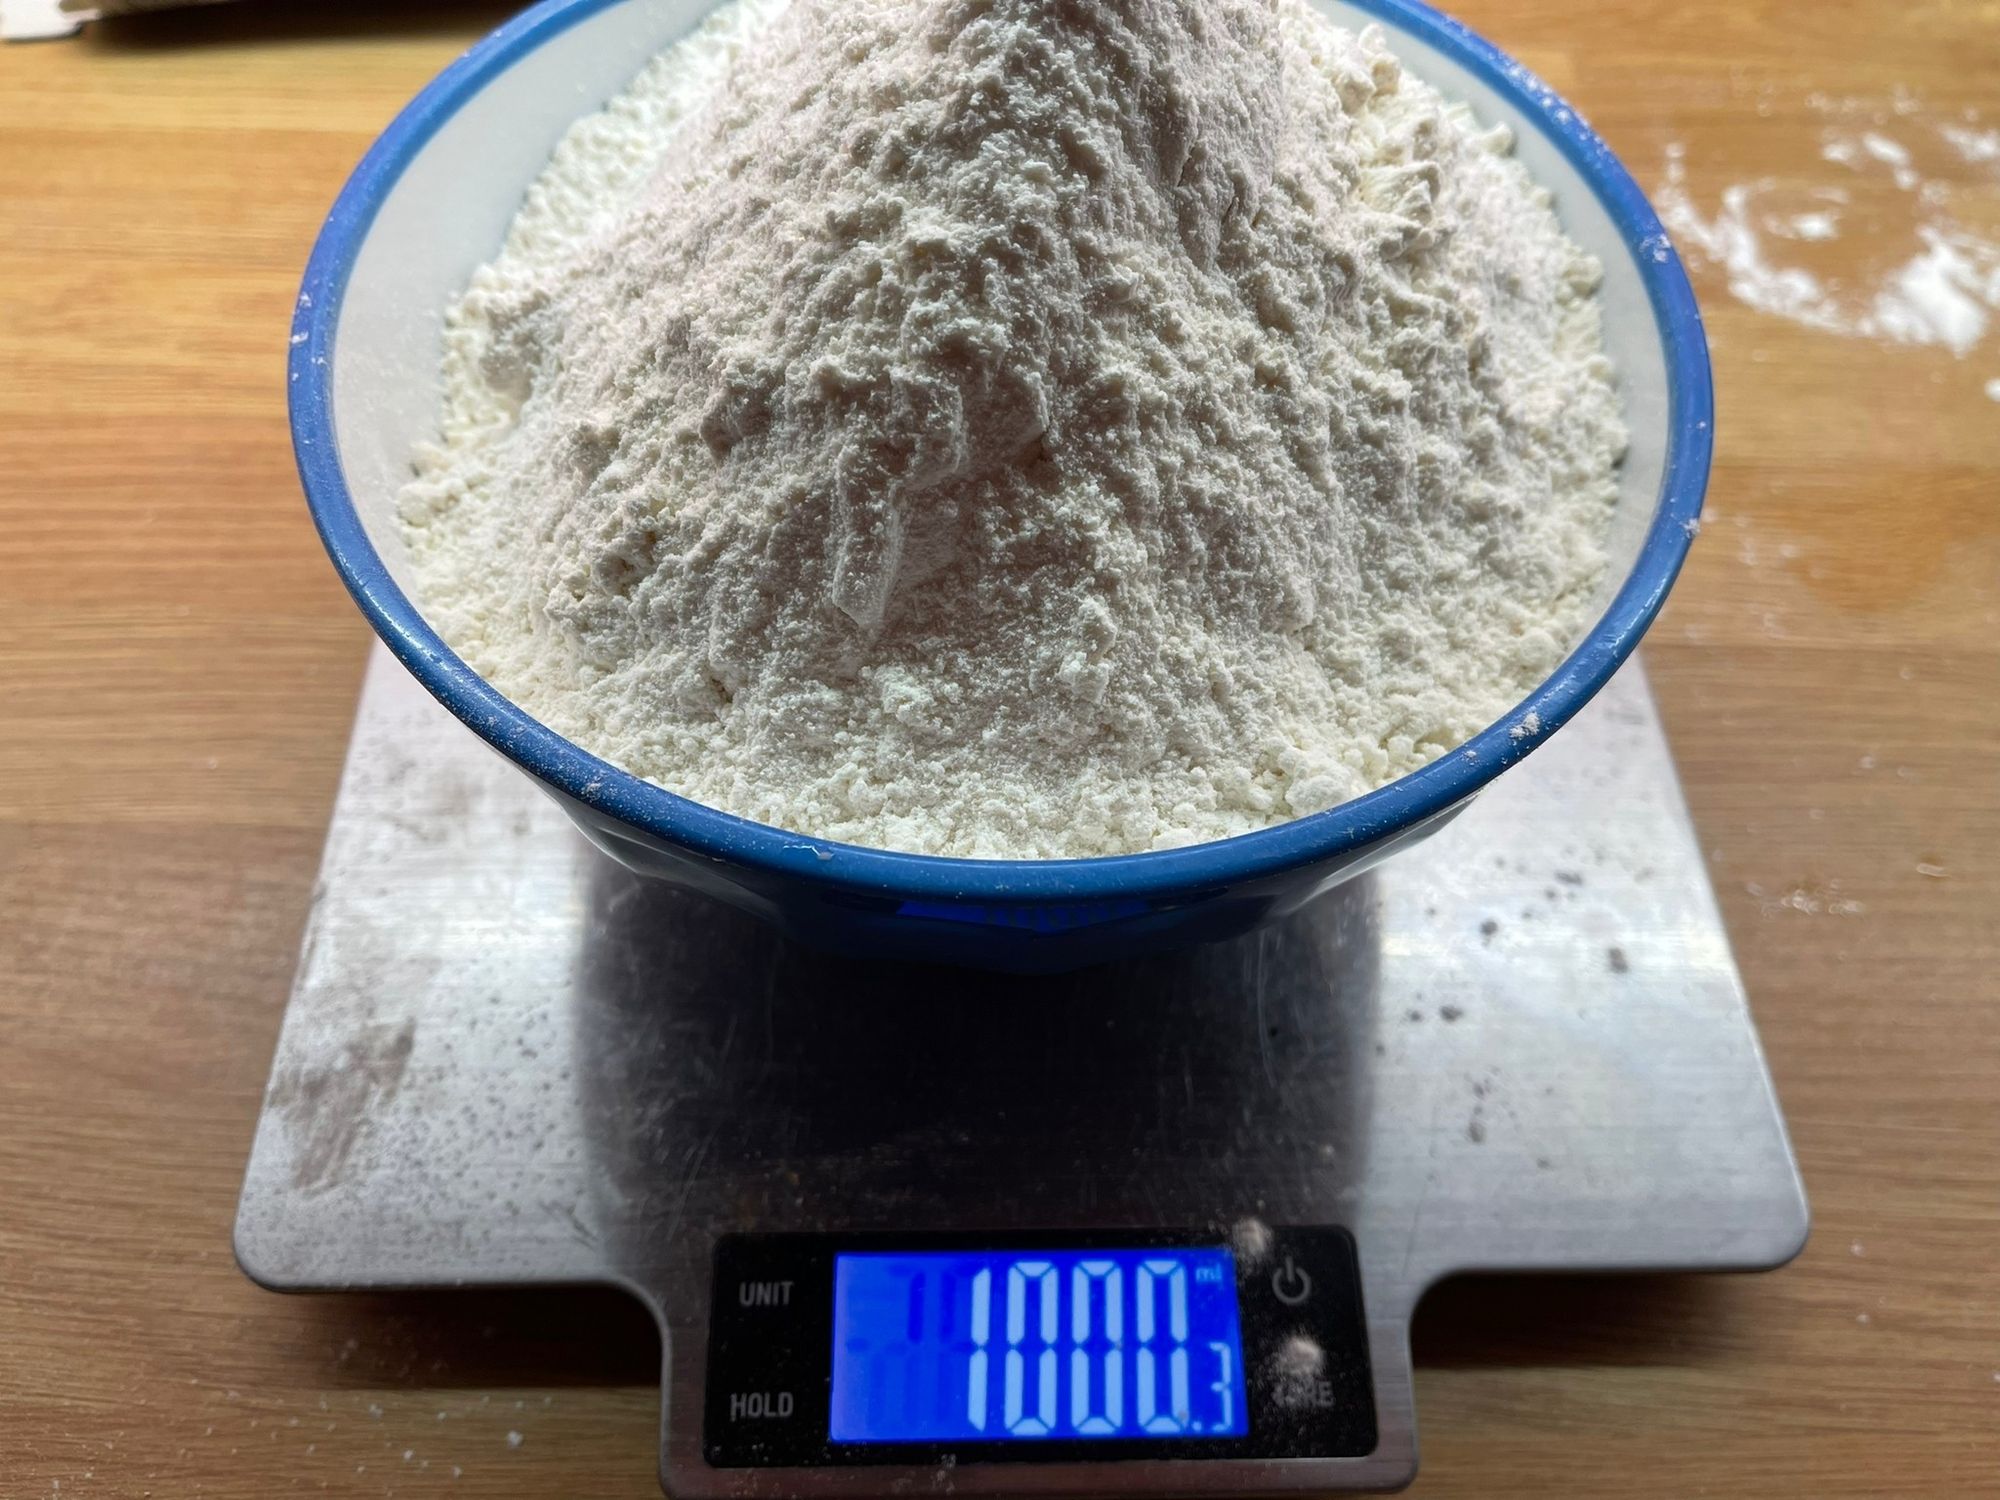
1Kg of Shipton Mill 00 Flour.
0.8g of Instant Dried Yeast mixed into the flour
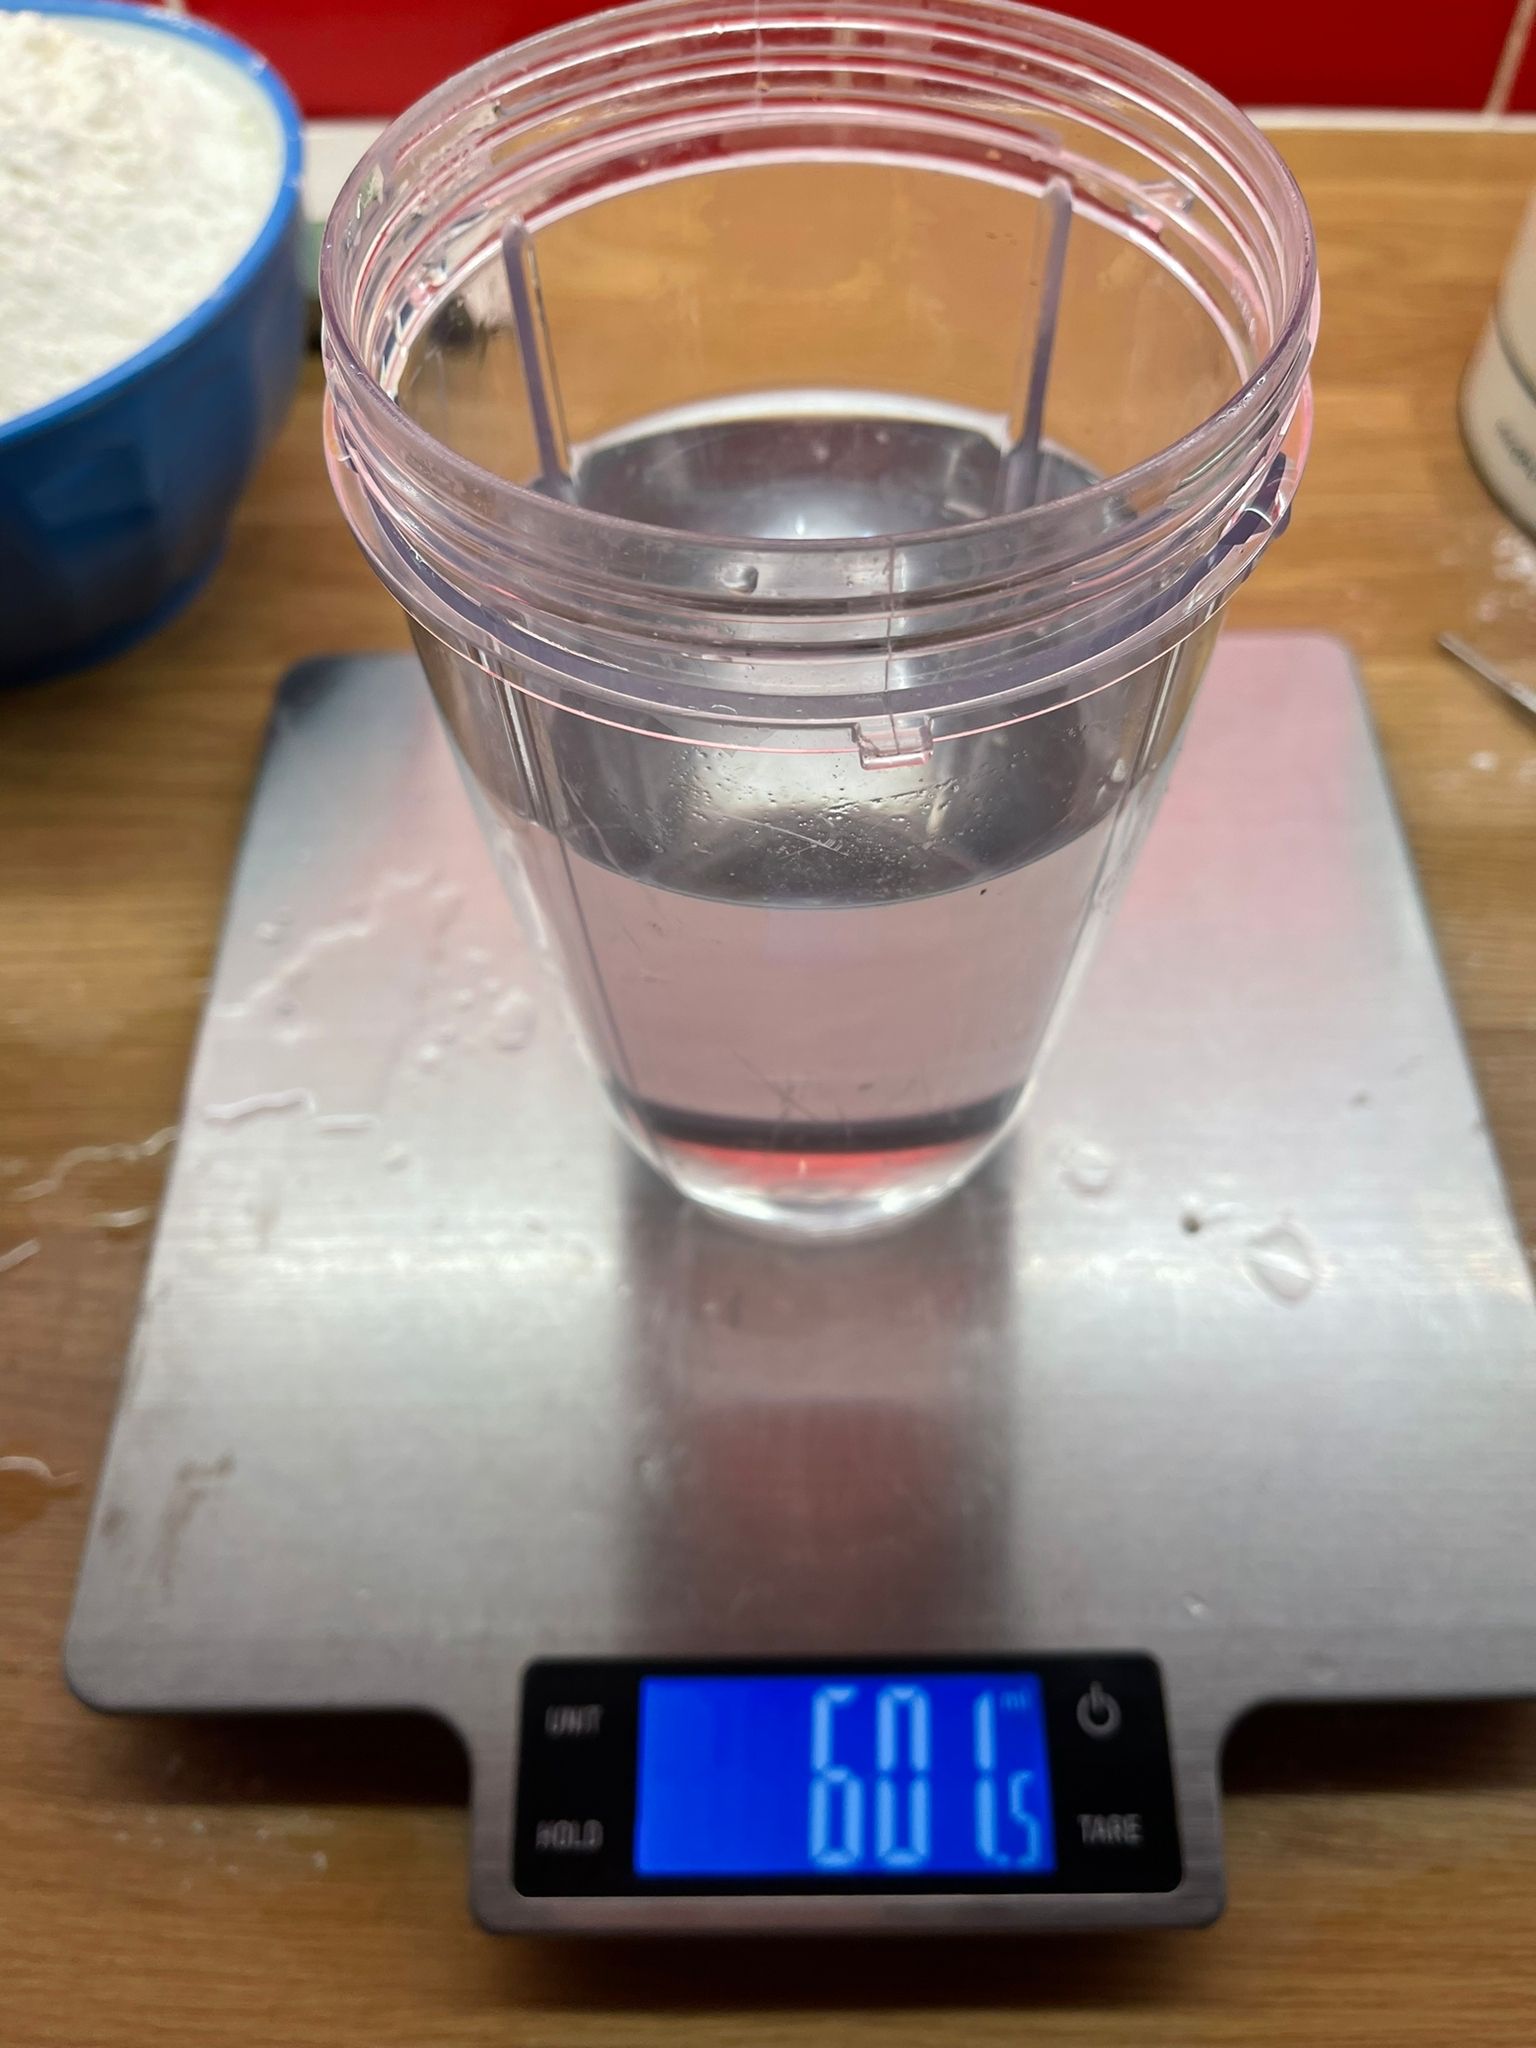
600g of water at approximately 24 degrees C.
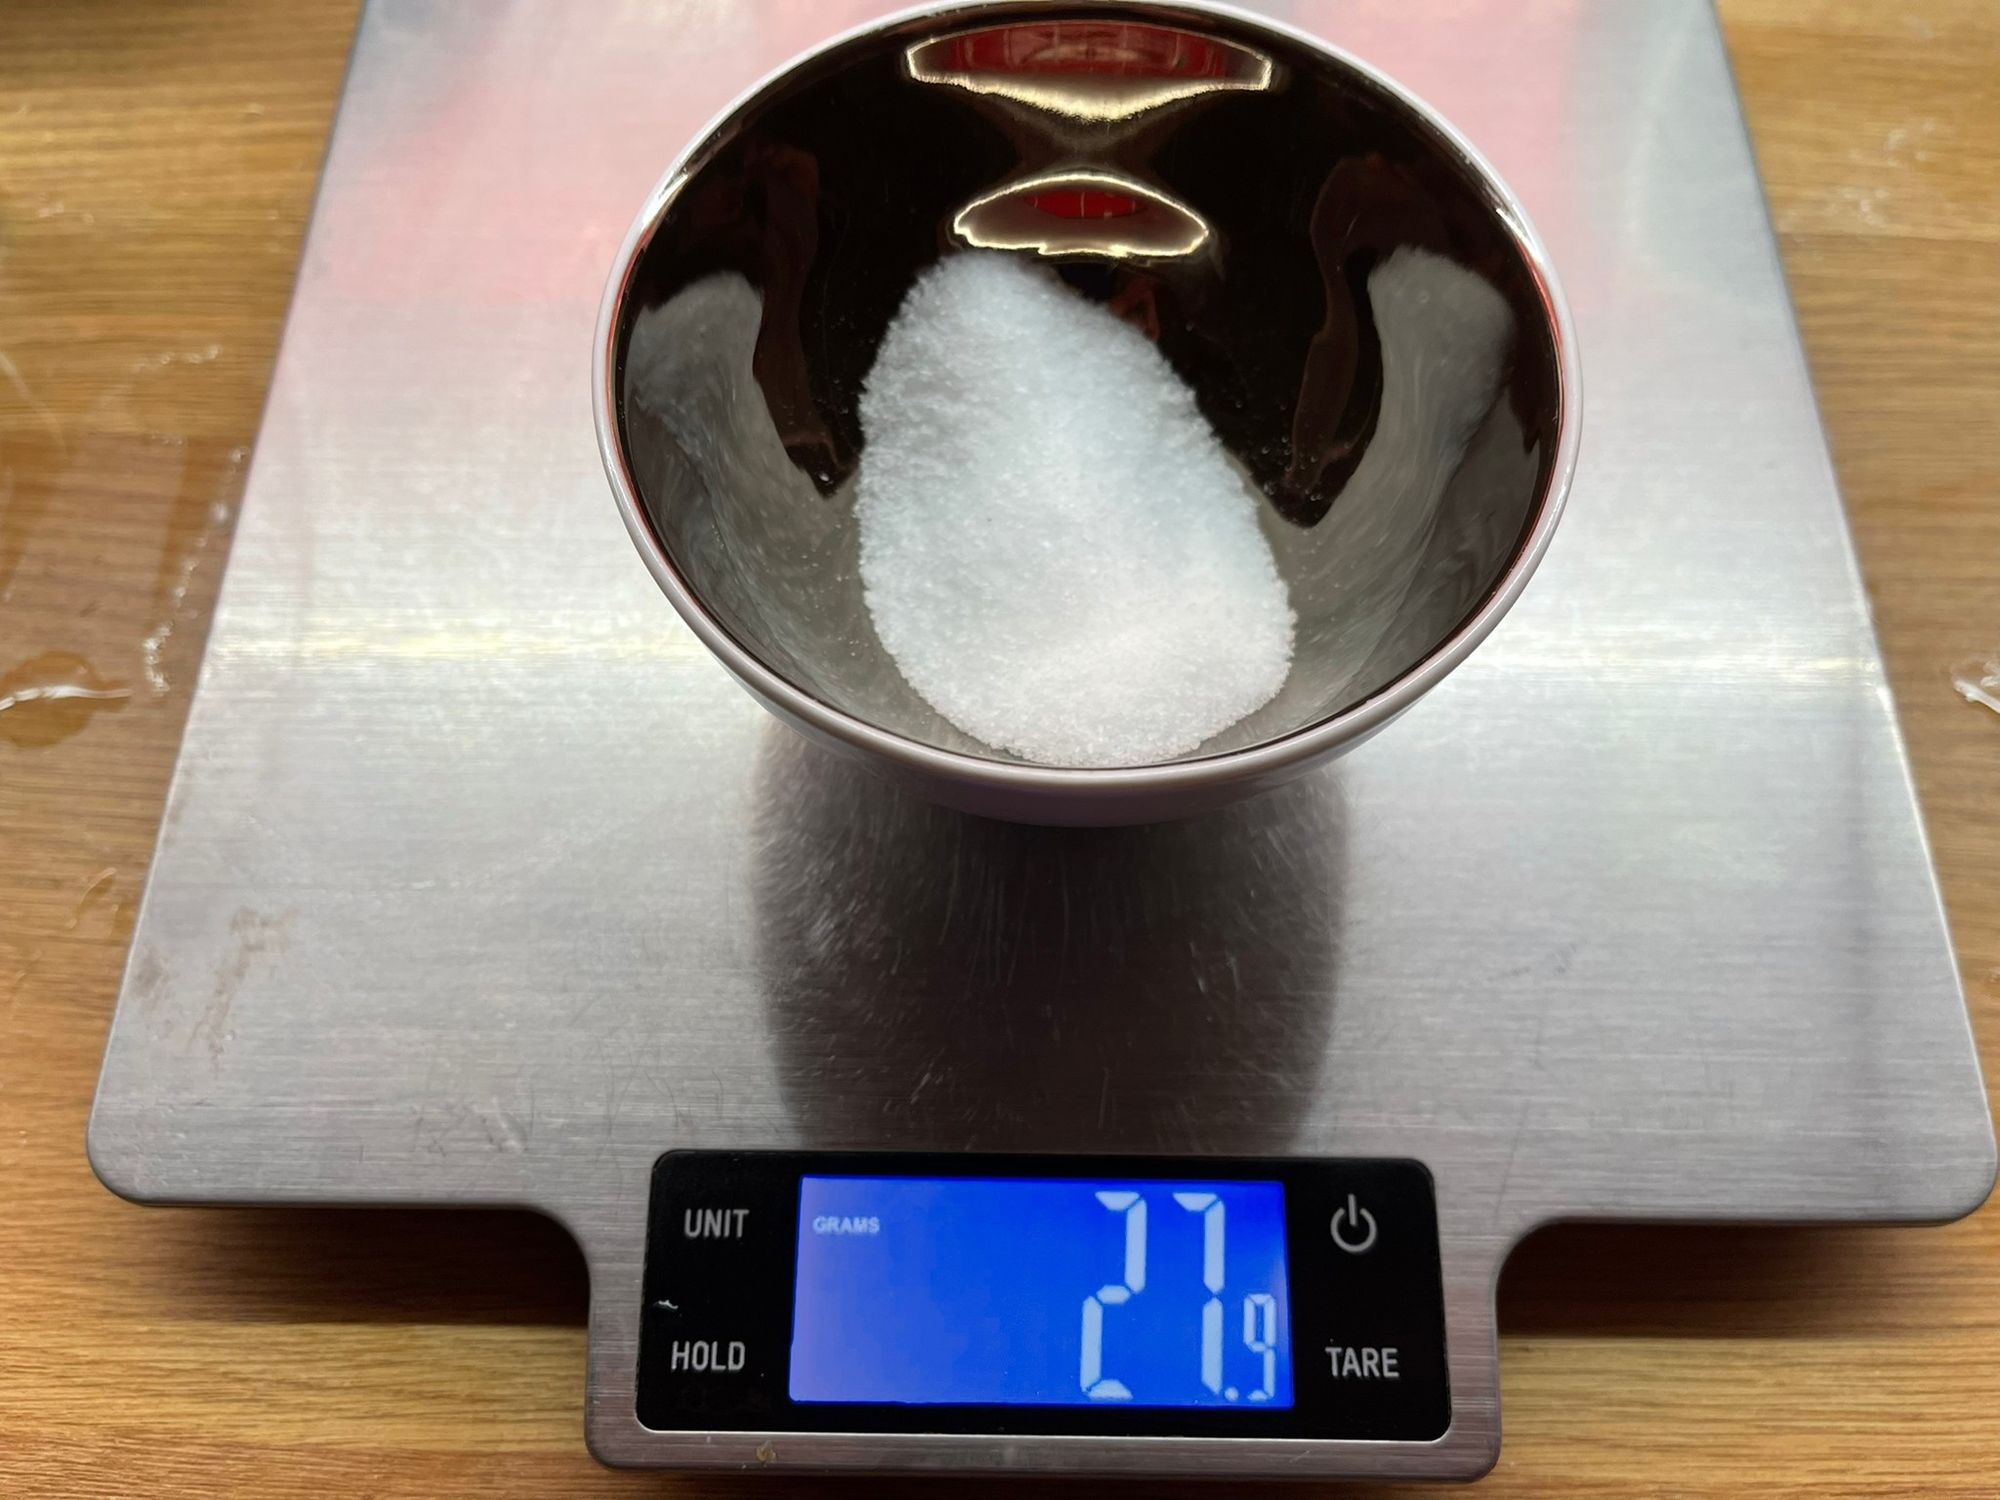
27g of sea salt mixed into the water.
If you are working in colder temperatures such as a UK winter then here is an adjusted recipe. Please note your bulk rise may vary from the 10 hours I have estimated depending on the temperature that you leave the dough at
1Kg of Shipton Mill 00 Flour.
1.4g of Instant Dried Yeast mixed into the flour
600g of water at approximately 32 degrees C.
27g of sea salt mixed into the water.
The Method
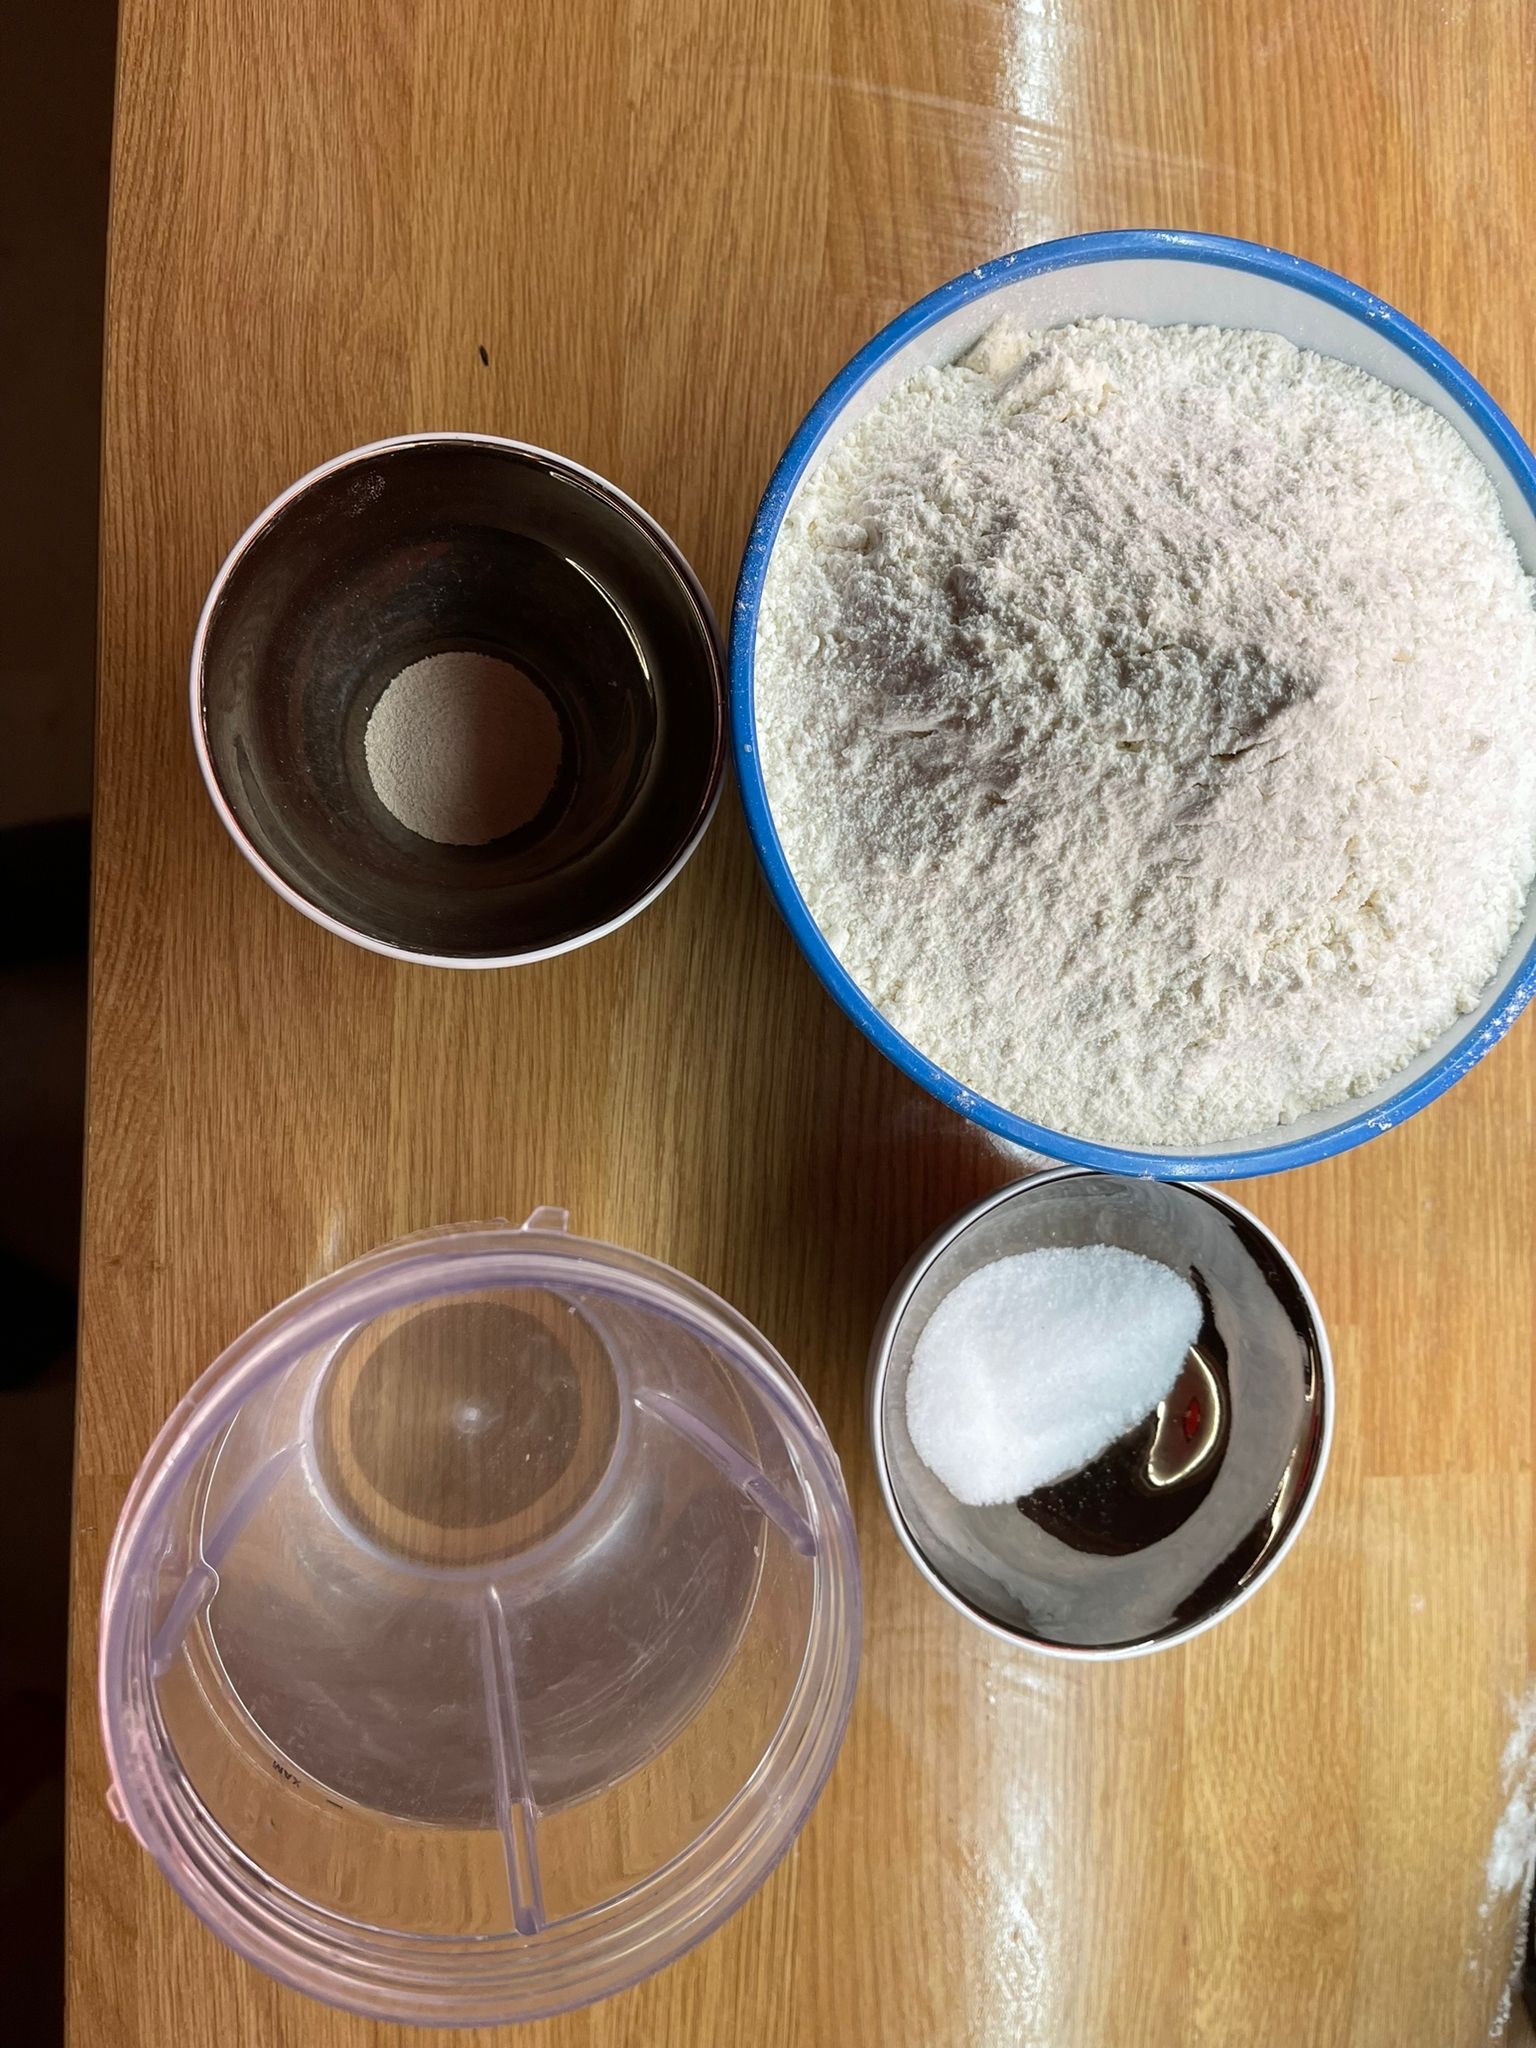
Weigh all your ingredients out separately and then combine. If you don't have scales that will measure down to less than a gram then use a quarter of a teaspoon of the instant dried yeast.
If you don't have a mixer and are kneading by hand then I recommend the dough is kneaded vigorously for a good 15 minutes after it has been well mixed together.
You are going to make the dough the night before you want to use it. Once kneaded you are going to leave the dough in a covered bowl. I cover mine with a damp cloth. Leave the dough to ferment in bulk for about 10 hours at room temperature. If you stick a thermometer into the dough you should see the temperature at about 24 degrees. This is the kind of temperature that yeast likes and the process of turning sugars into carbon dioxide will begin.
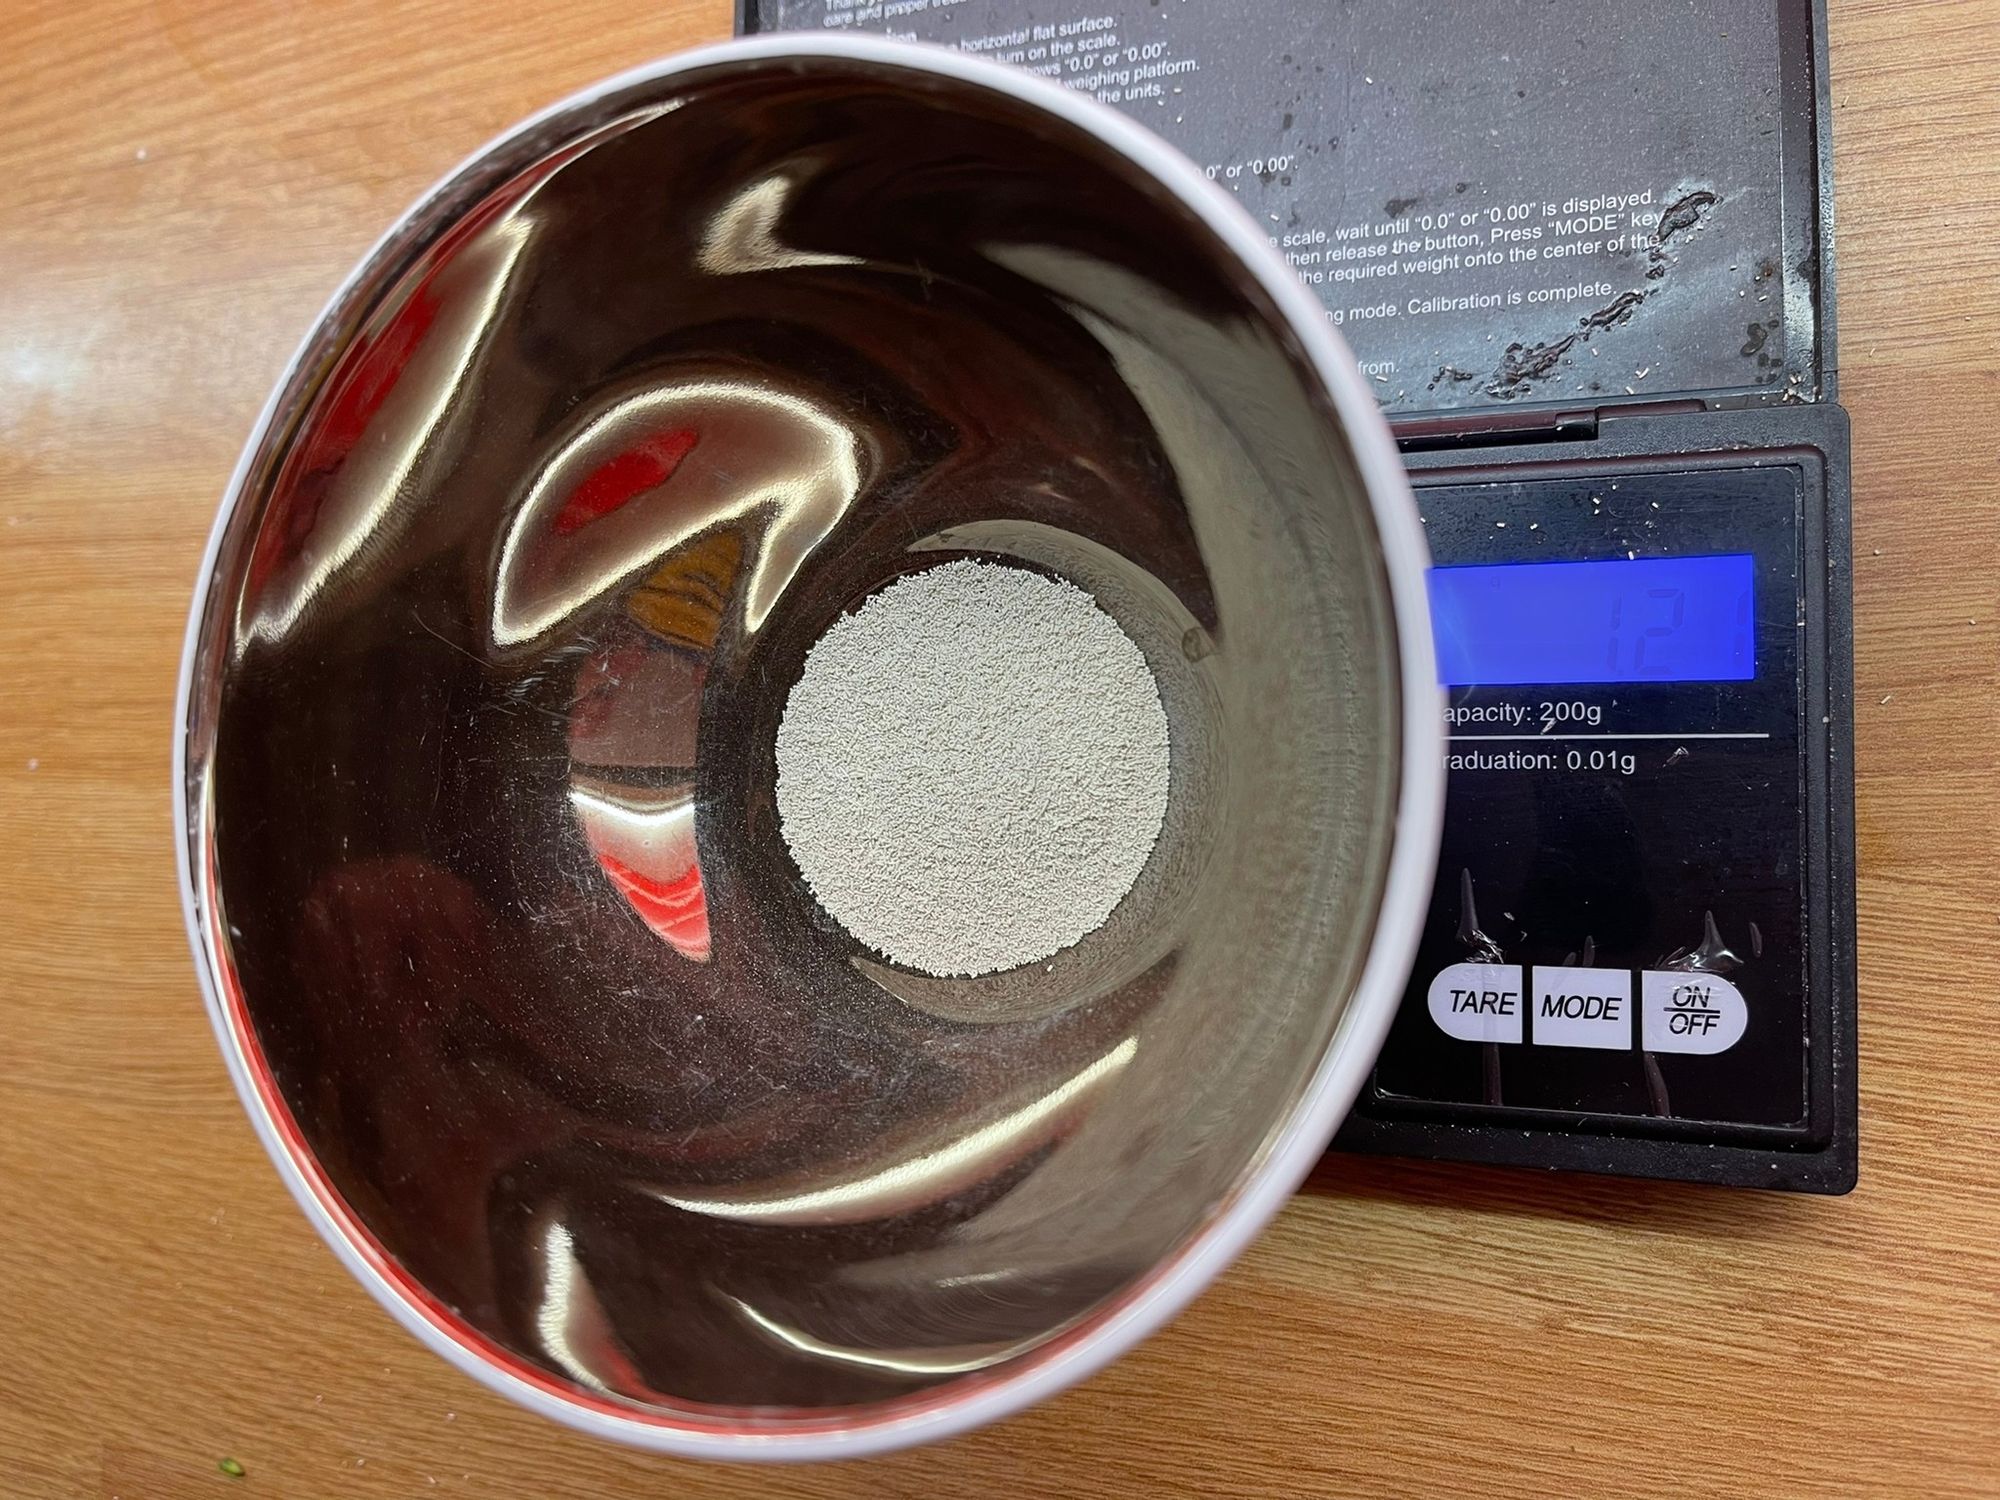
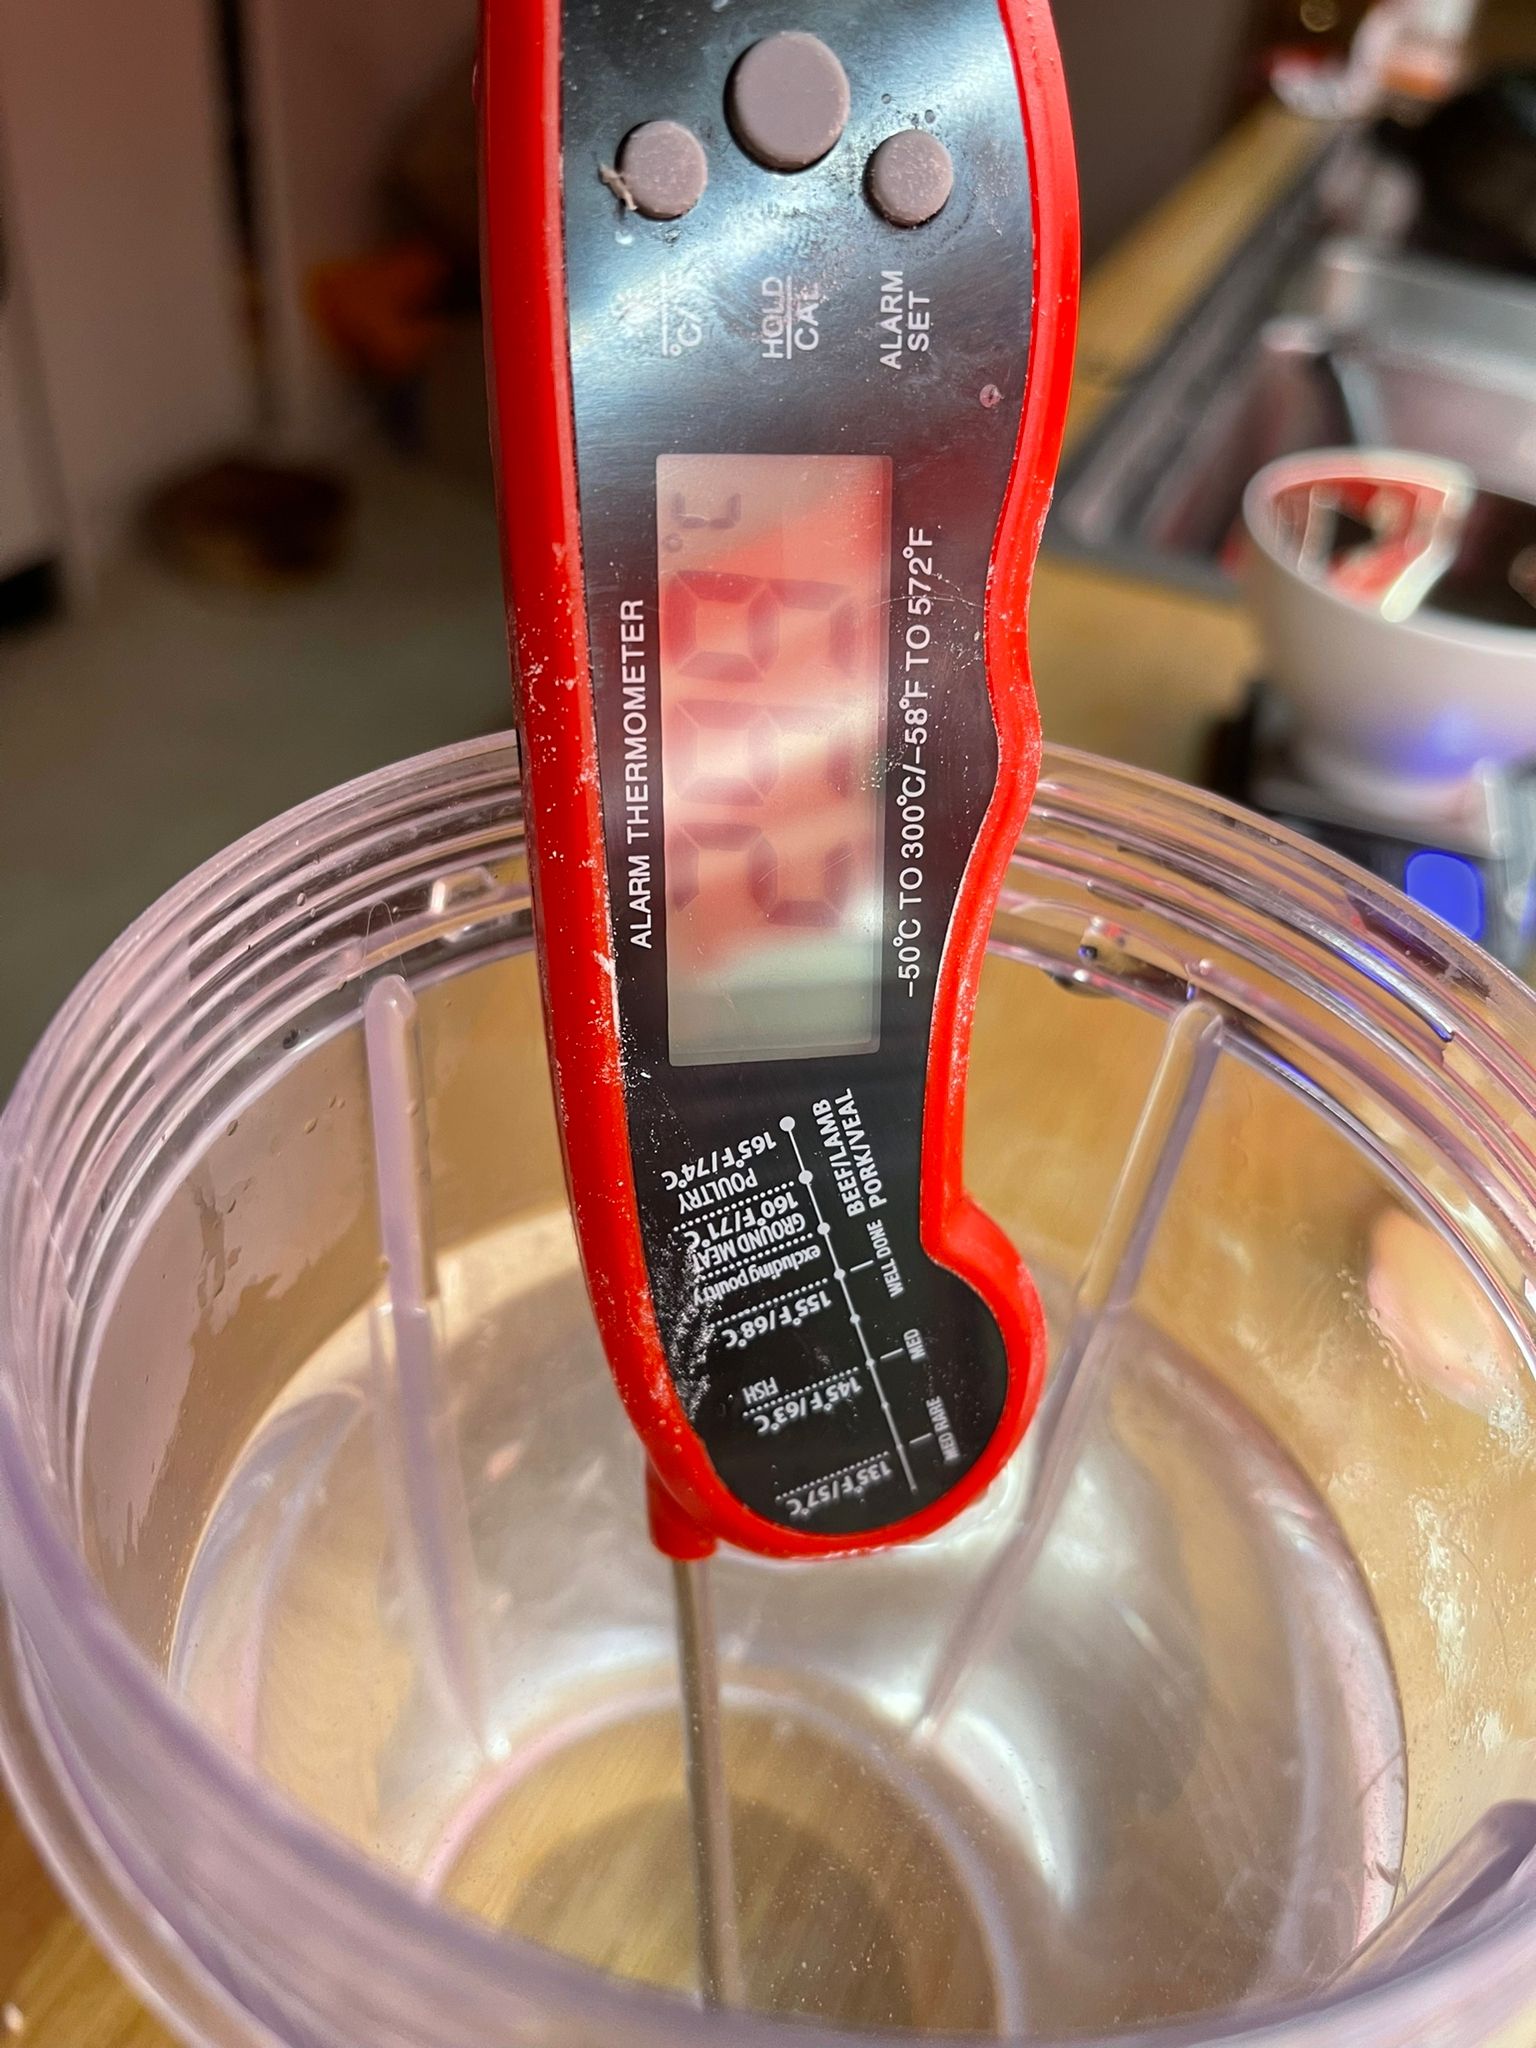
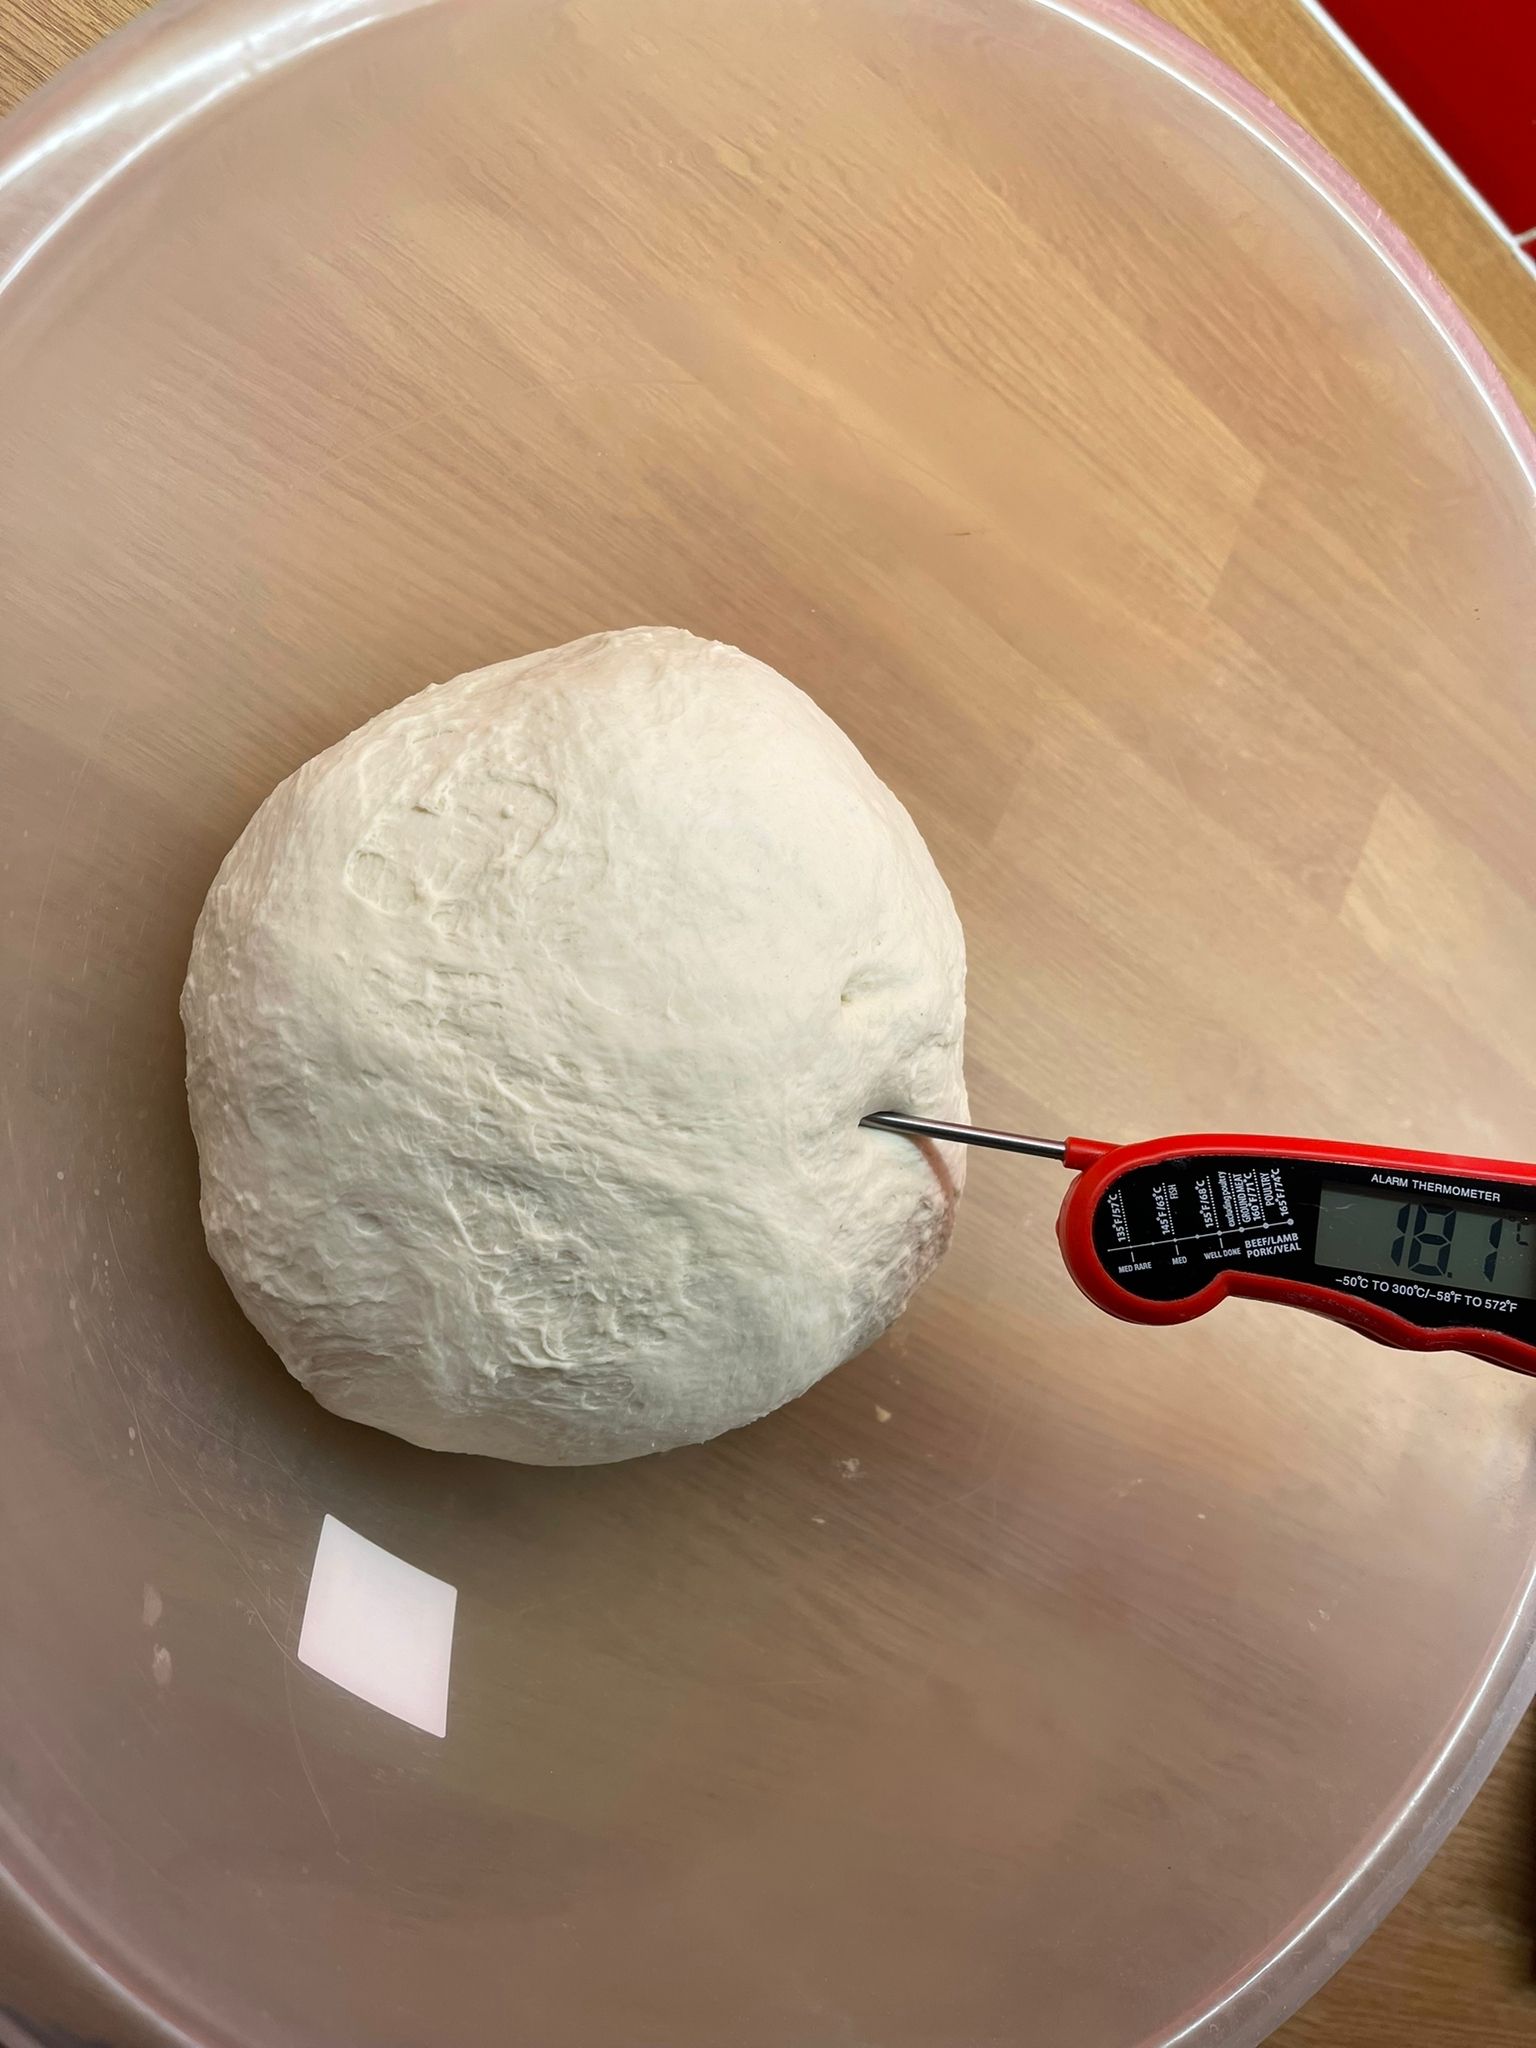
You might notice in the photos above that I have some slight differences to what I have listed in the recipe. This dough was made in January and it gets pretty cold over night so I have adjusted. I have used 1.2g of instant dried yeast rather than 0.6g and have used water at 30 degrees centigrade. The dough temperature ended up at 18 degrees which was a little lower than I wanted it to be.
Because of the cold weather I let my dough bulk ferment for 16 hours rather than 10. The dough temperature in the morning was only 12 degrees and it just needed more time. After 16 hours I took the dough out of the bowl and knocked it back a bit and gave it a few gentle folds and a bit of a shaping into a ball. I let it rest for 30 mins and then divided into 7 220g pieces.
The next morning you are going to want to make up your dough balls at least 4 hours before you intend to use them. Your dough should now have fermented well. Don't expect to see it double in size though. This is a strong gluten dough with a very small amount of yeast and a low hydration. You should see lots of small air bubbles and when you press into the dough with your finger it should leave an indentation and not bounce back immediately and not fully. This recipe errs on the side of slight under fermentation at the bulk stage to give a large window of use for the dough balls so that if we have a day long event the dough will still be very useable at the end of the day even when left out at 20 degrees or more.
Once your dough is ready to make balls in the morning you want to get your scales out again and you are going to divide into 7 pieces weighing 220g each.
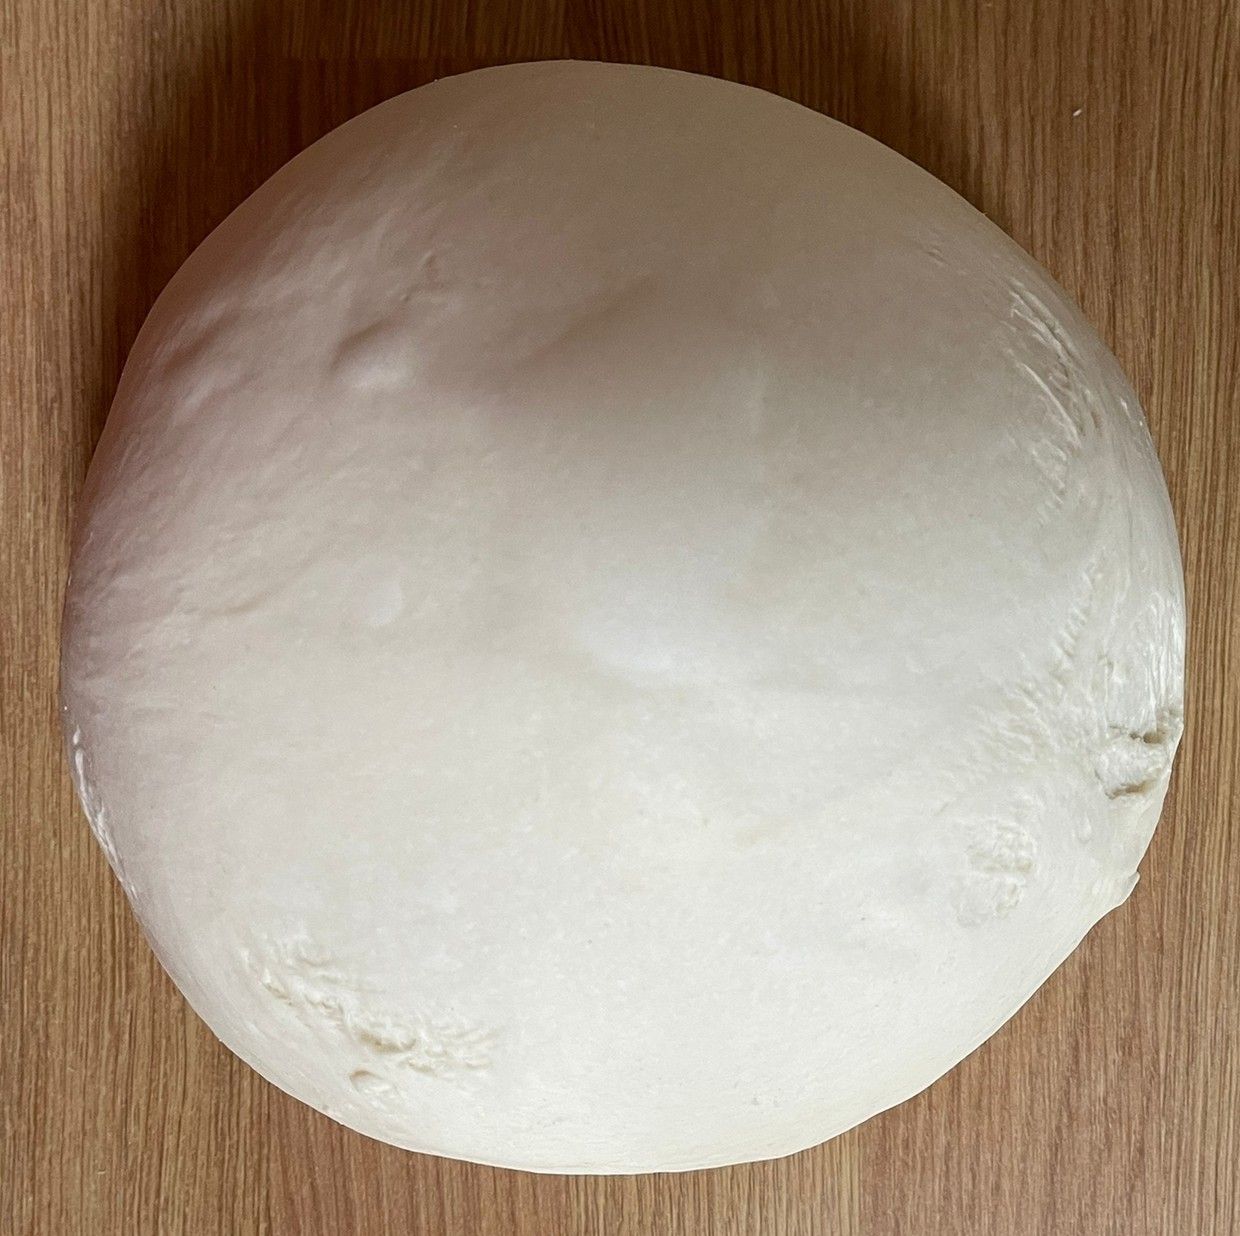
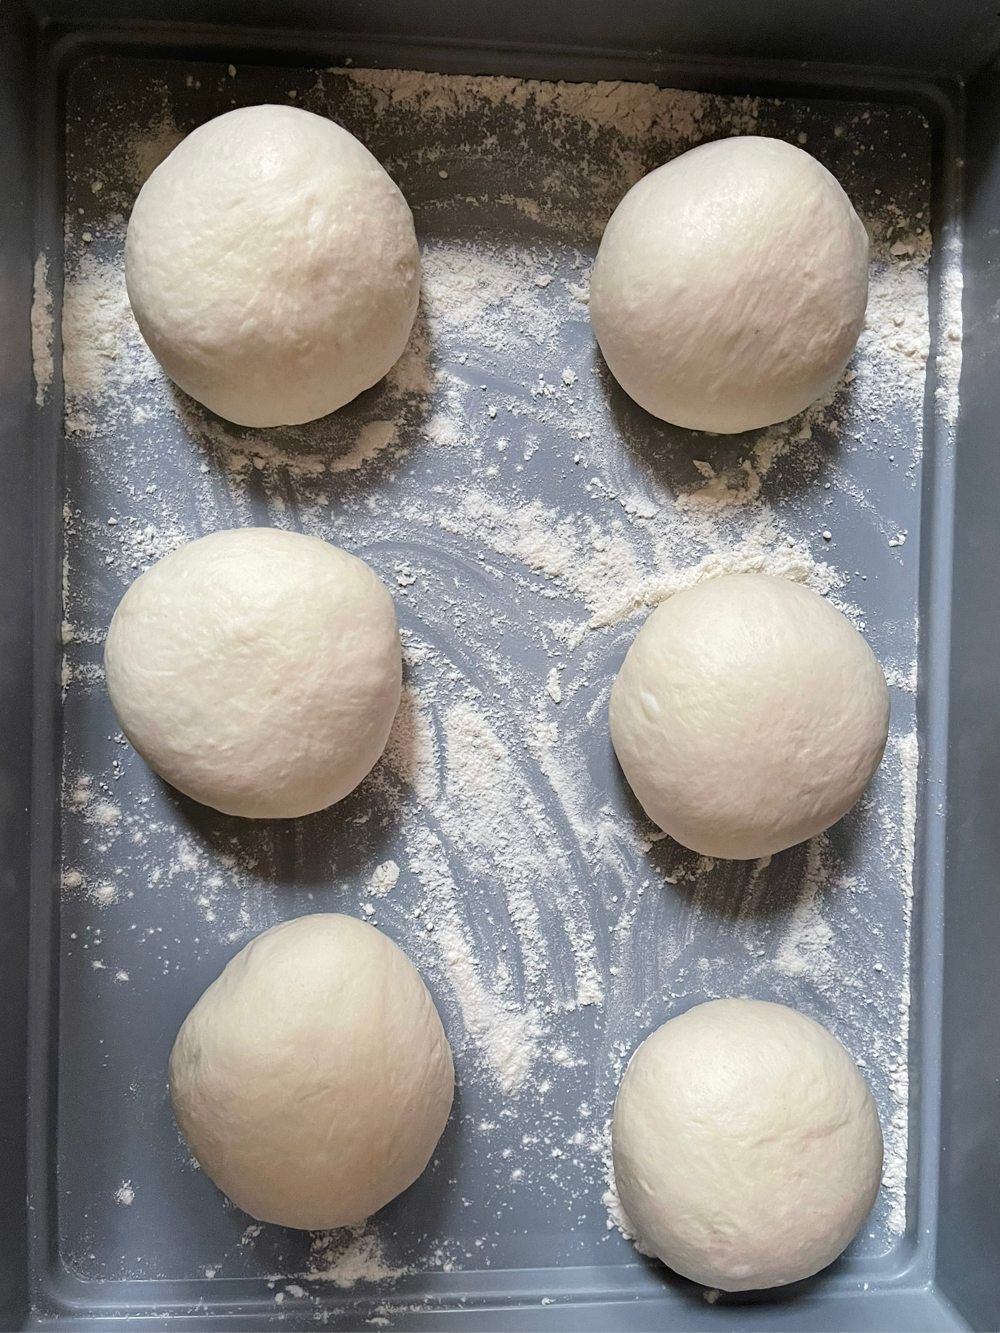
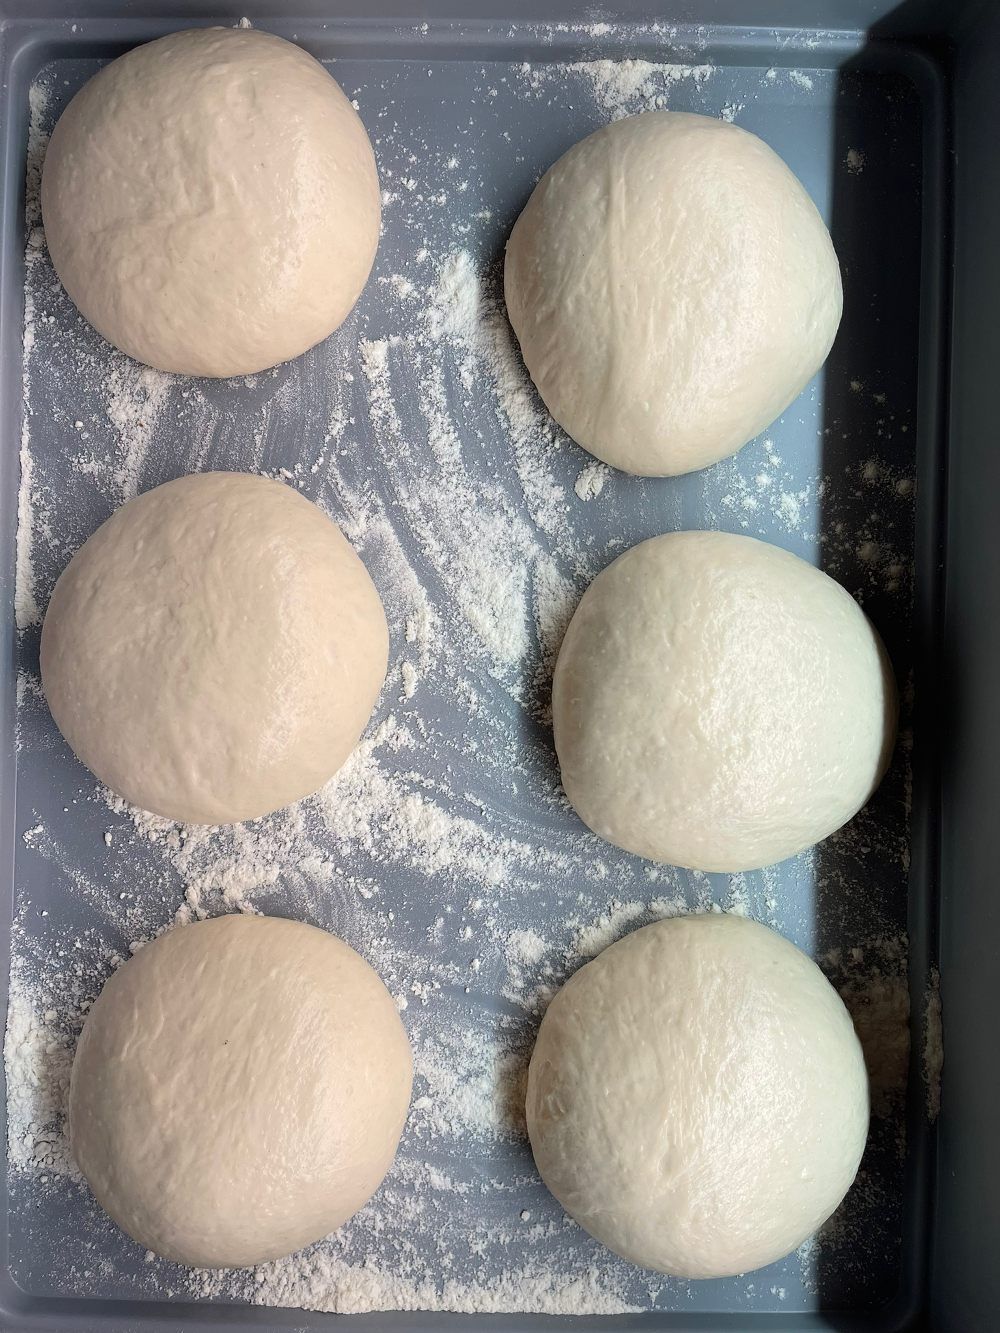
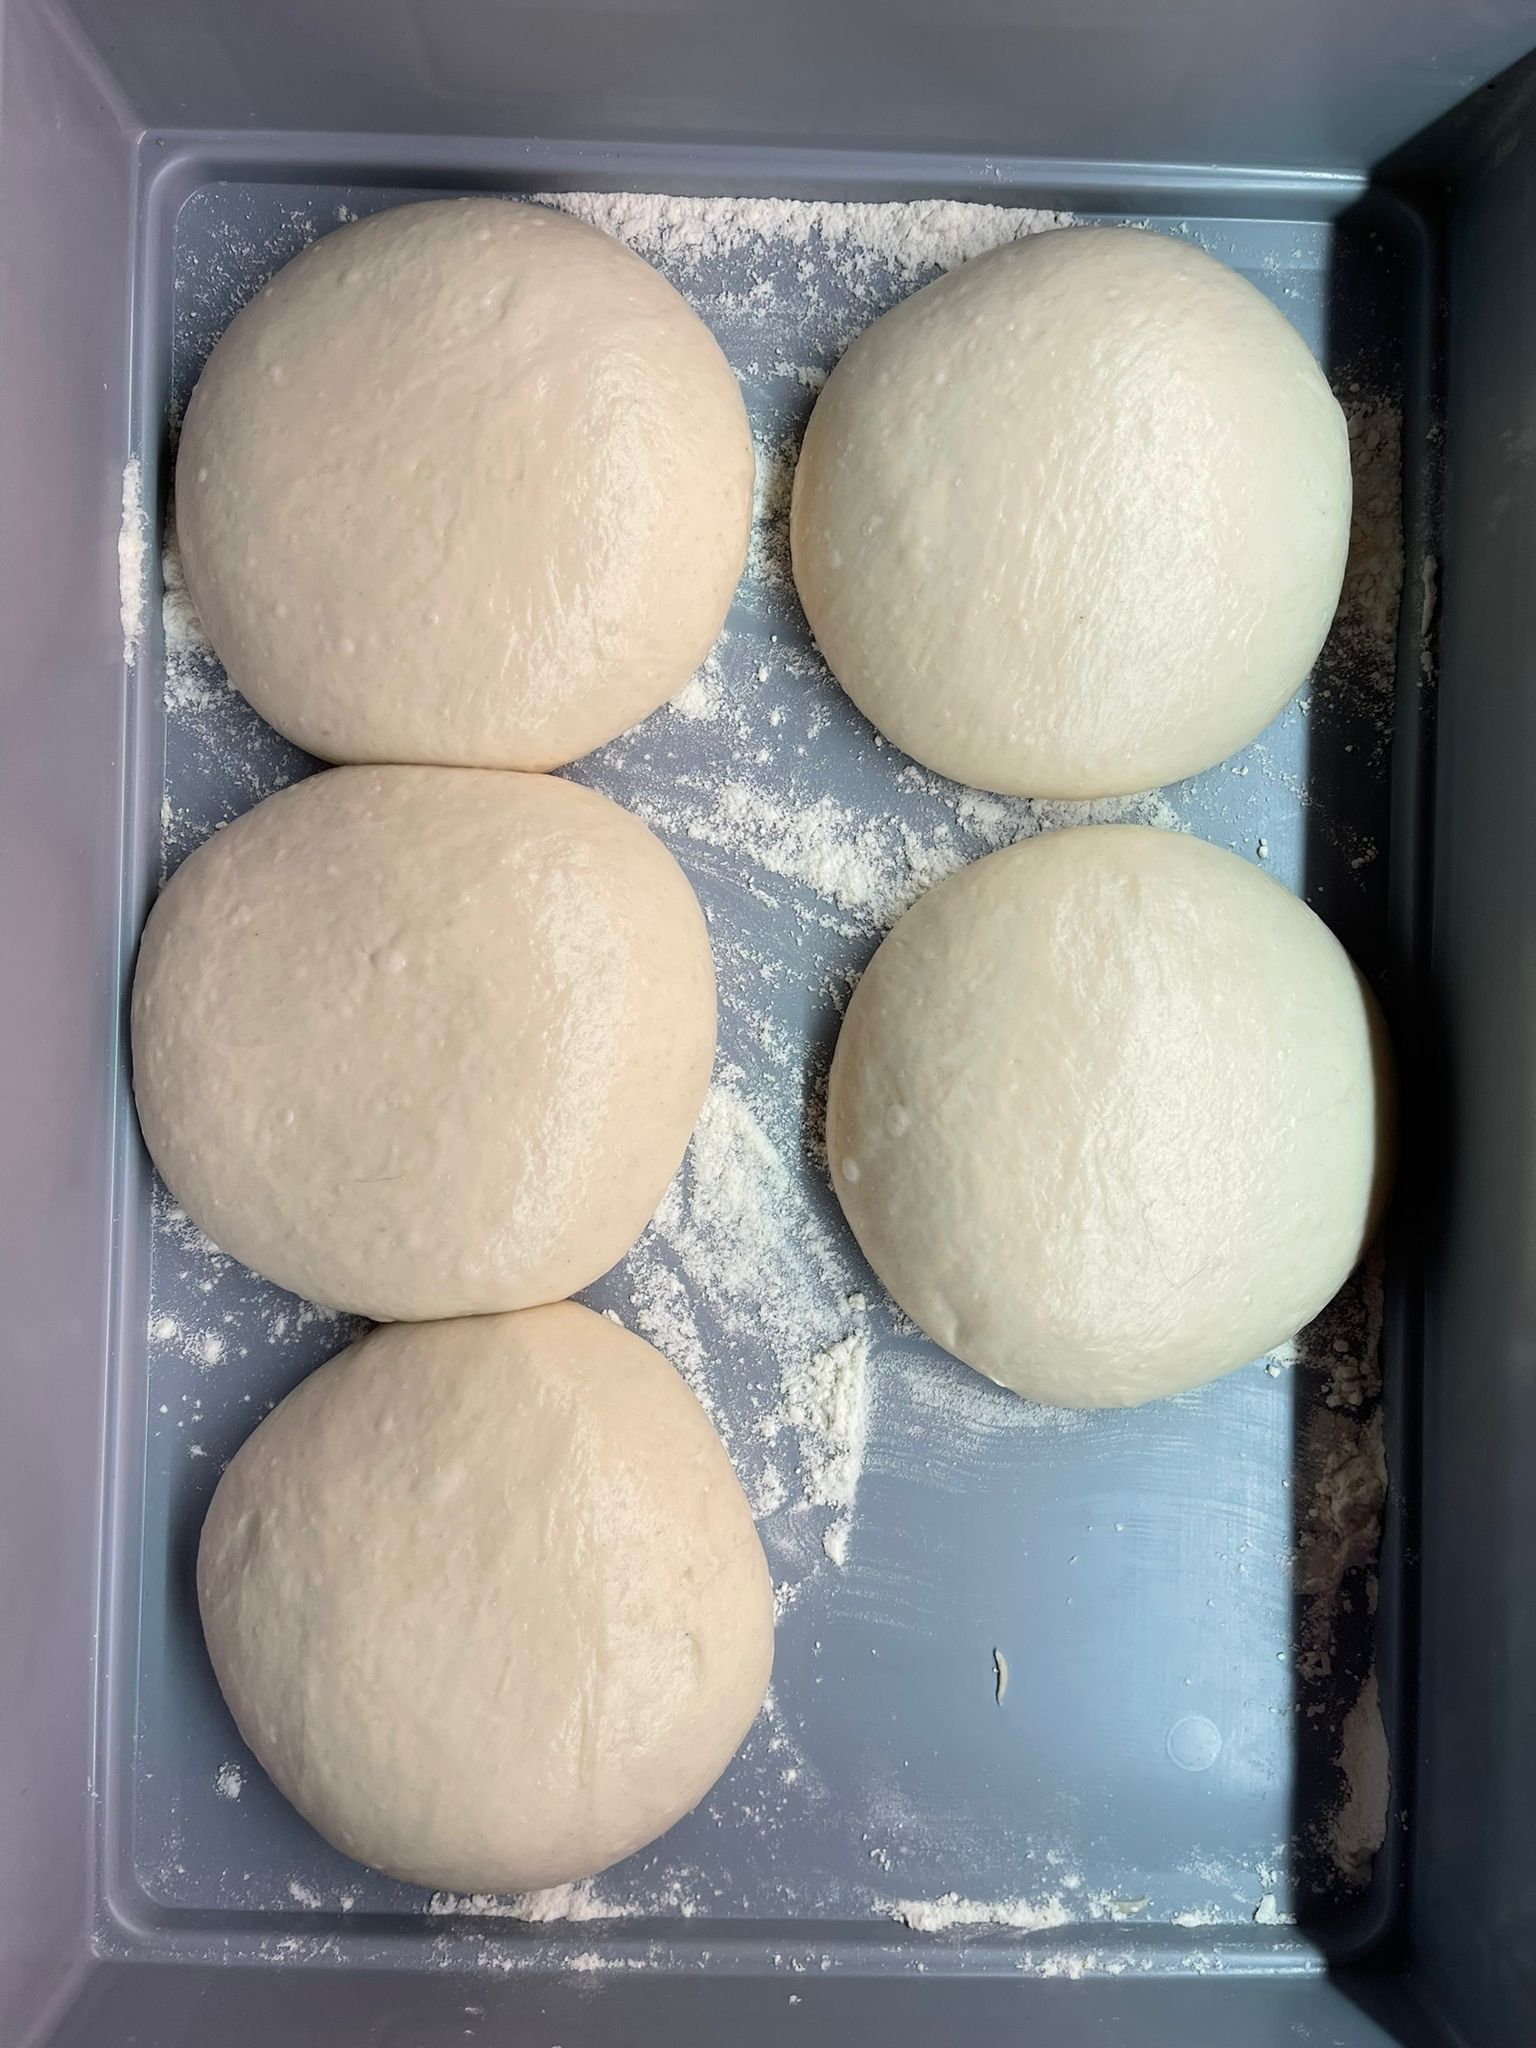
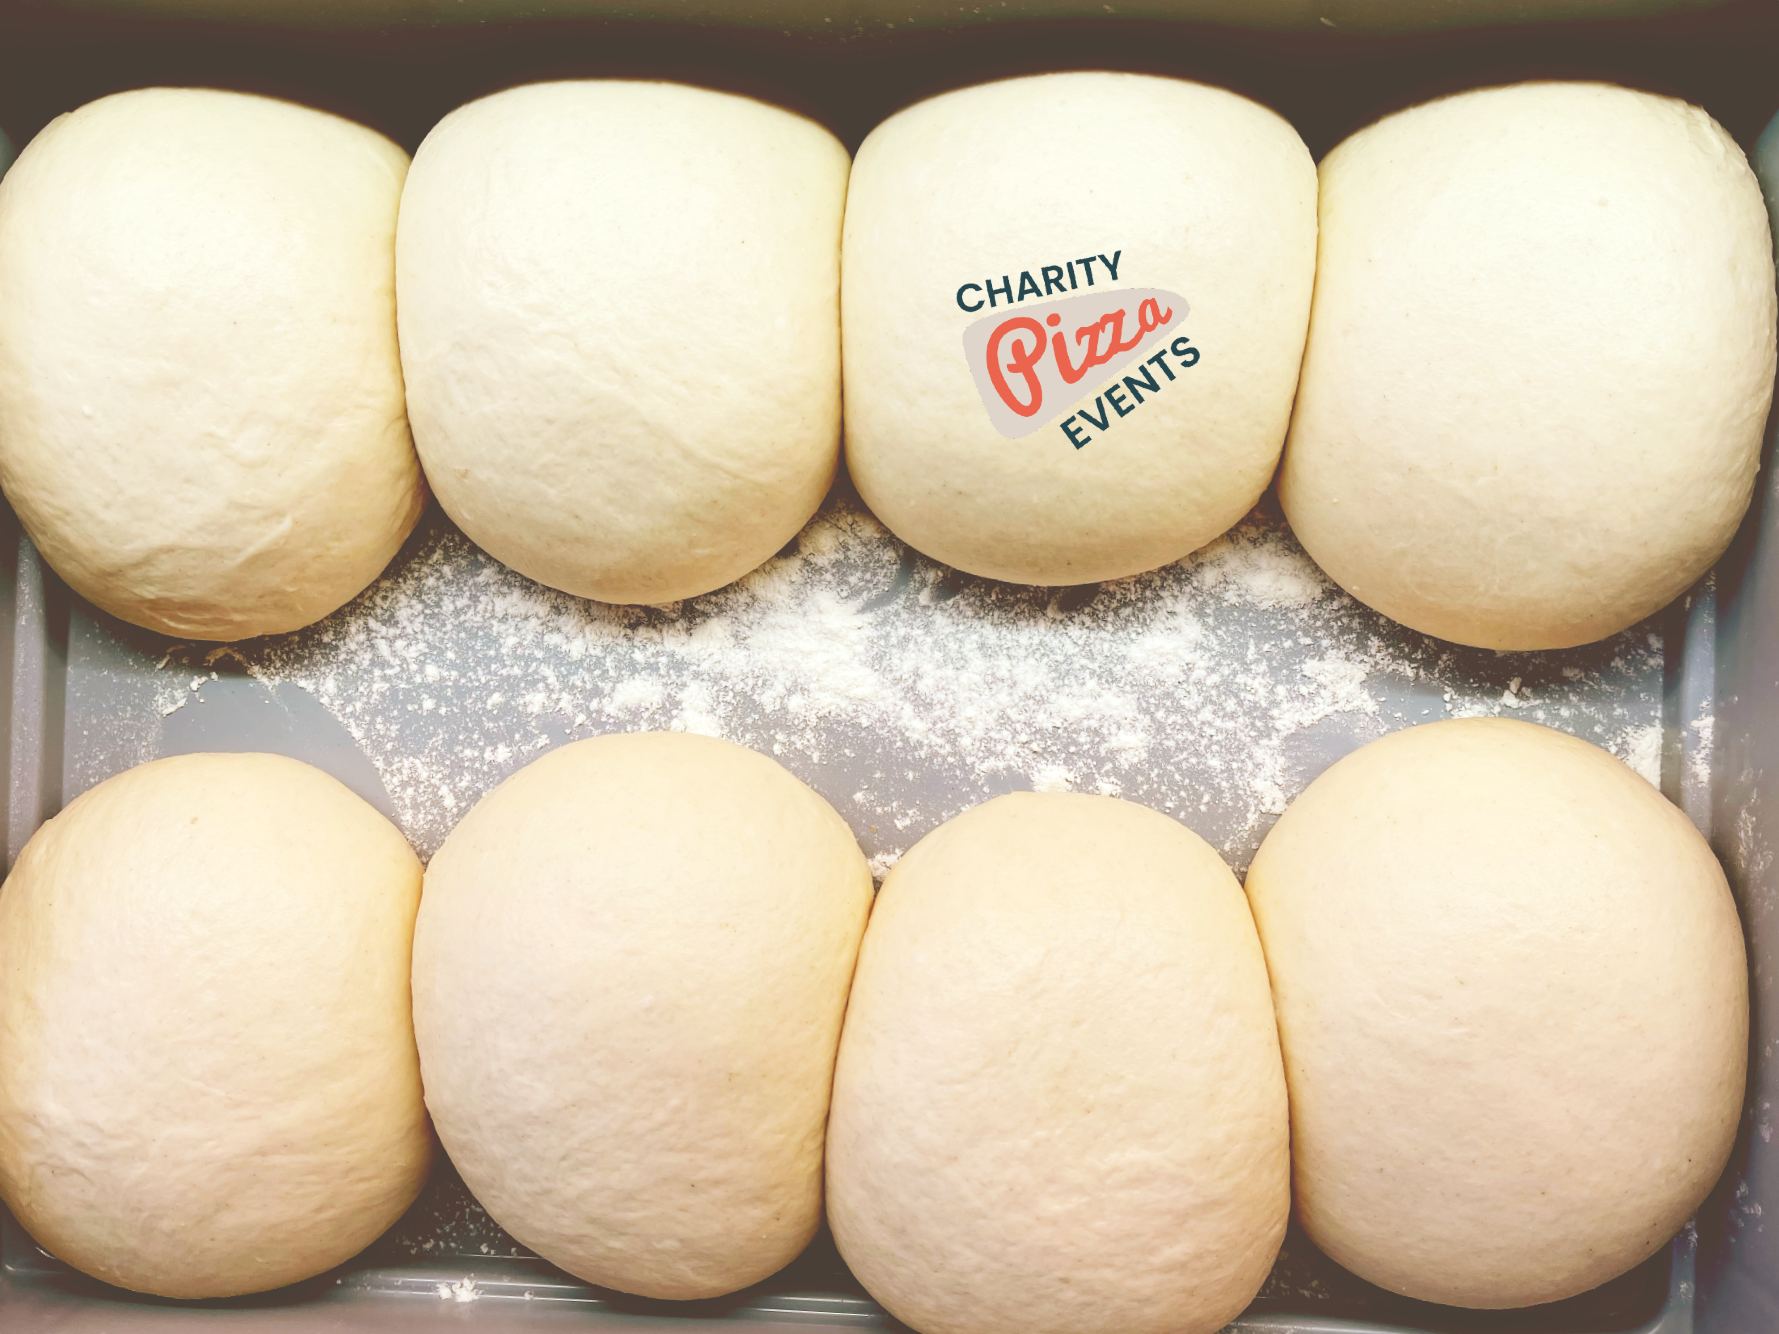
The first image on the left is after the dough has been knocked back a bit and rested for 30mins or so and then shaped into a ball. Top right, we see the 220g dough balls in a try ready for the proofing. Bottom right is after 4.5 hours of resting and proofing the dough balls at around 14 degrees centigrade. The balls are now approximately 30% bigger than when they started out and have held their shape well. The final photo, bottom right, is after an additional 12 hours of proofing overnight. I can't be sure of the temperature but I expect it was no more than 10 degrees centigrade. So here you see there is quite a large window when the dough is useable. After 4.5 hours the pizza was good but after an additional 12 hours it is pretty much spot-on. I would expect now that these dough balls will start to slowly lose their shape and spread out but we could probably use them for a few more hours yet.
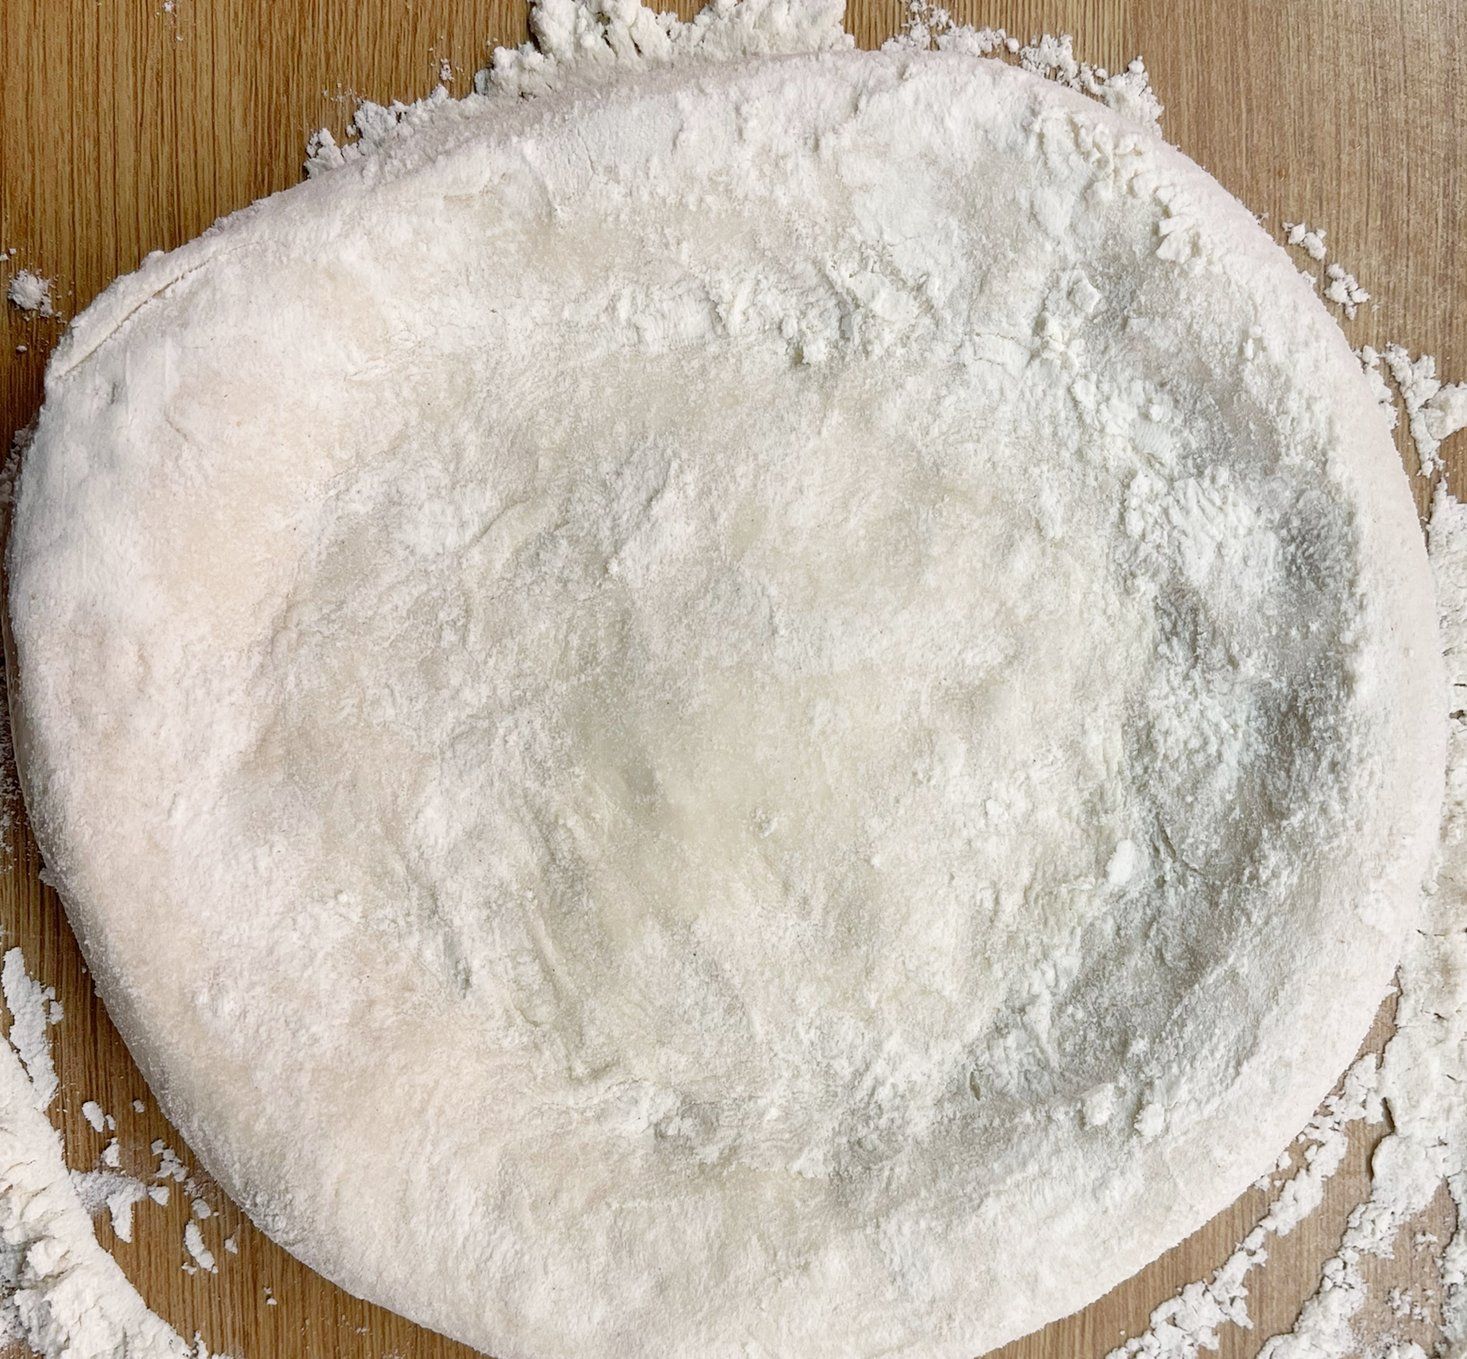

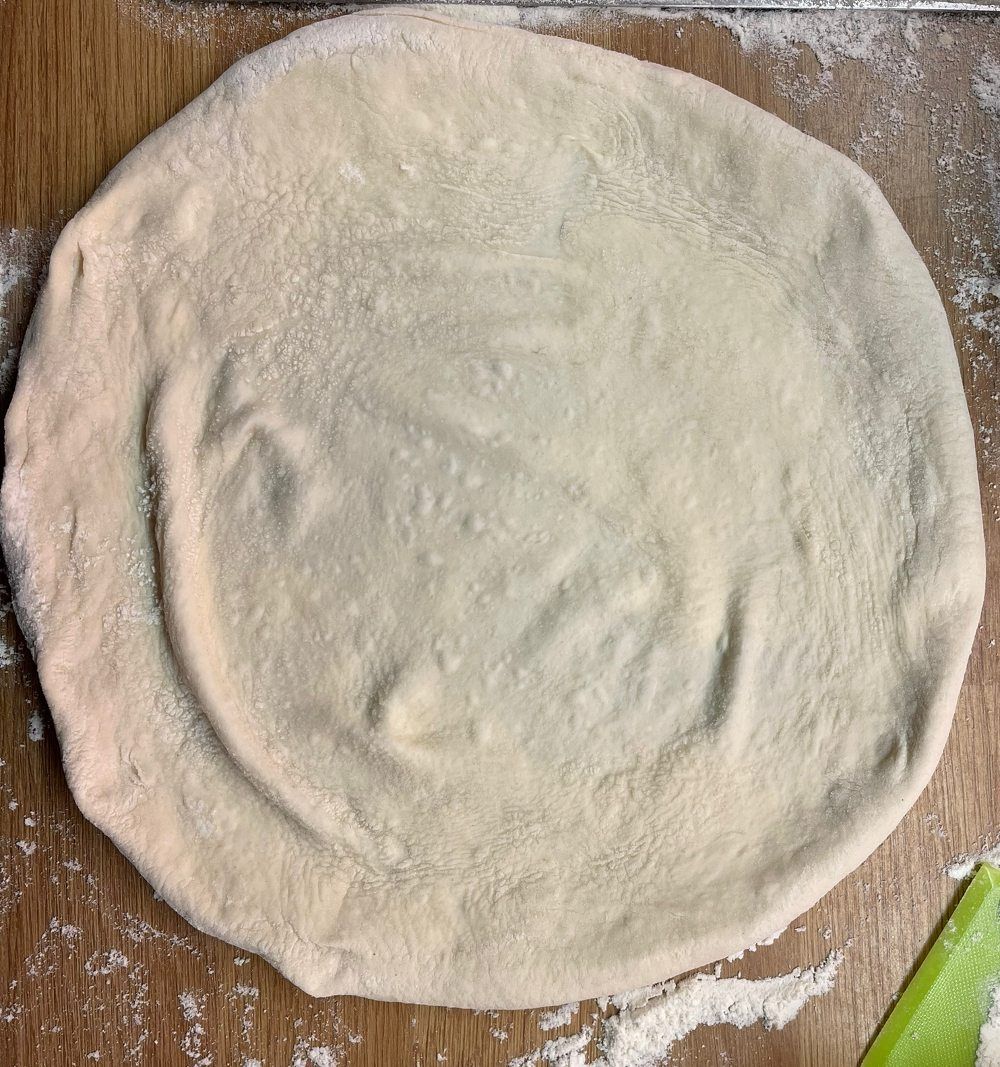
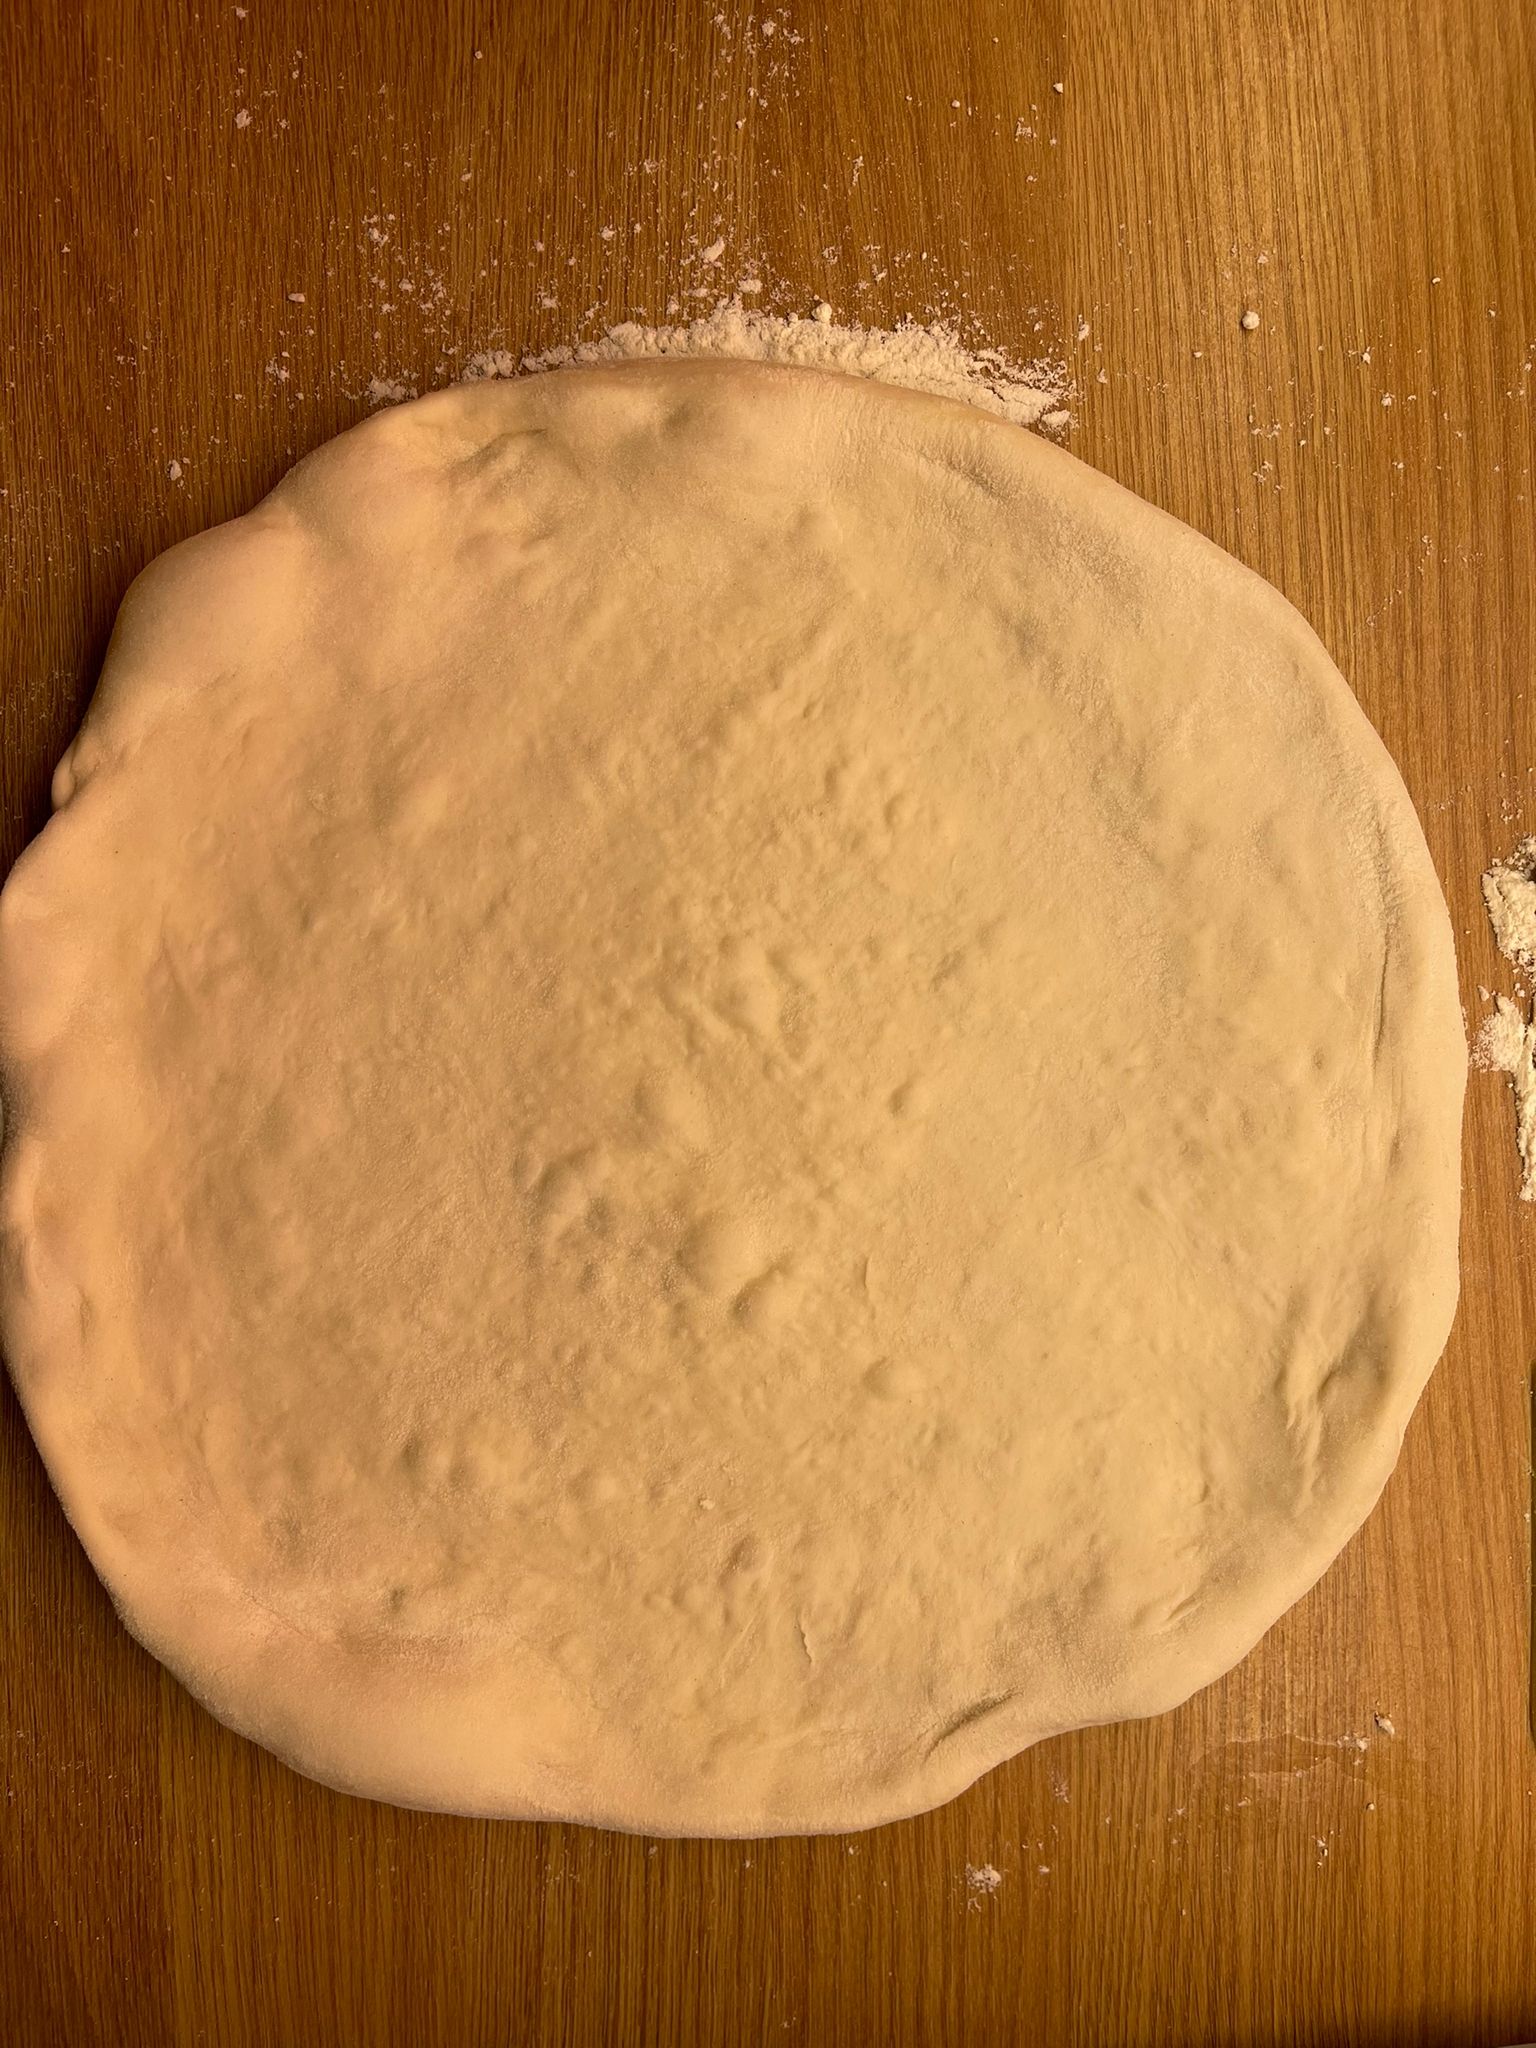
The set of photos above are from the dough balls that proofed for 4.5 hours. And here above on the left is the dough floured and pressed out followed by the stretch where you can see small air bubbles and a strong but extensible dough. The final image on the right is a 10 inch pizza dough ready to top and bake.
As this is a 60% hydration dough with only a small amount of yeast, the crumb is going to stay quite tight. I would say this dough has a minimum amount of fermentation and will continue to improve over the next few hours and still develop further.
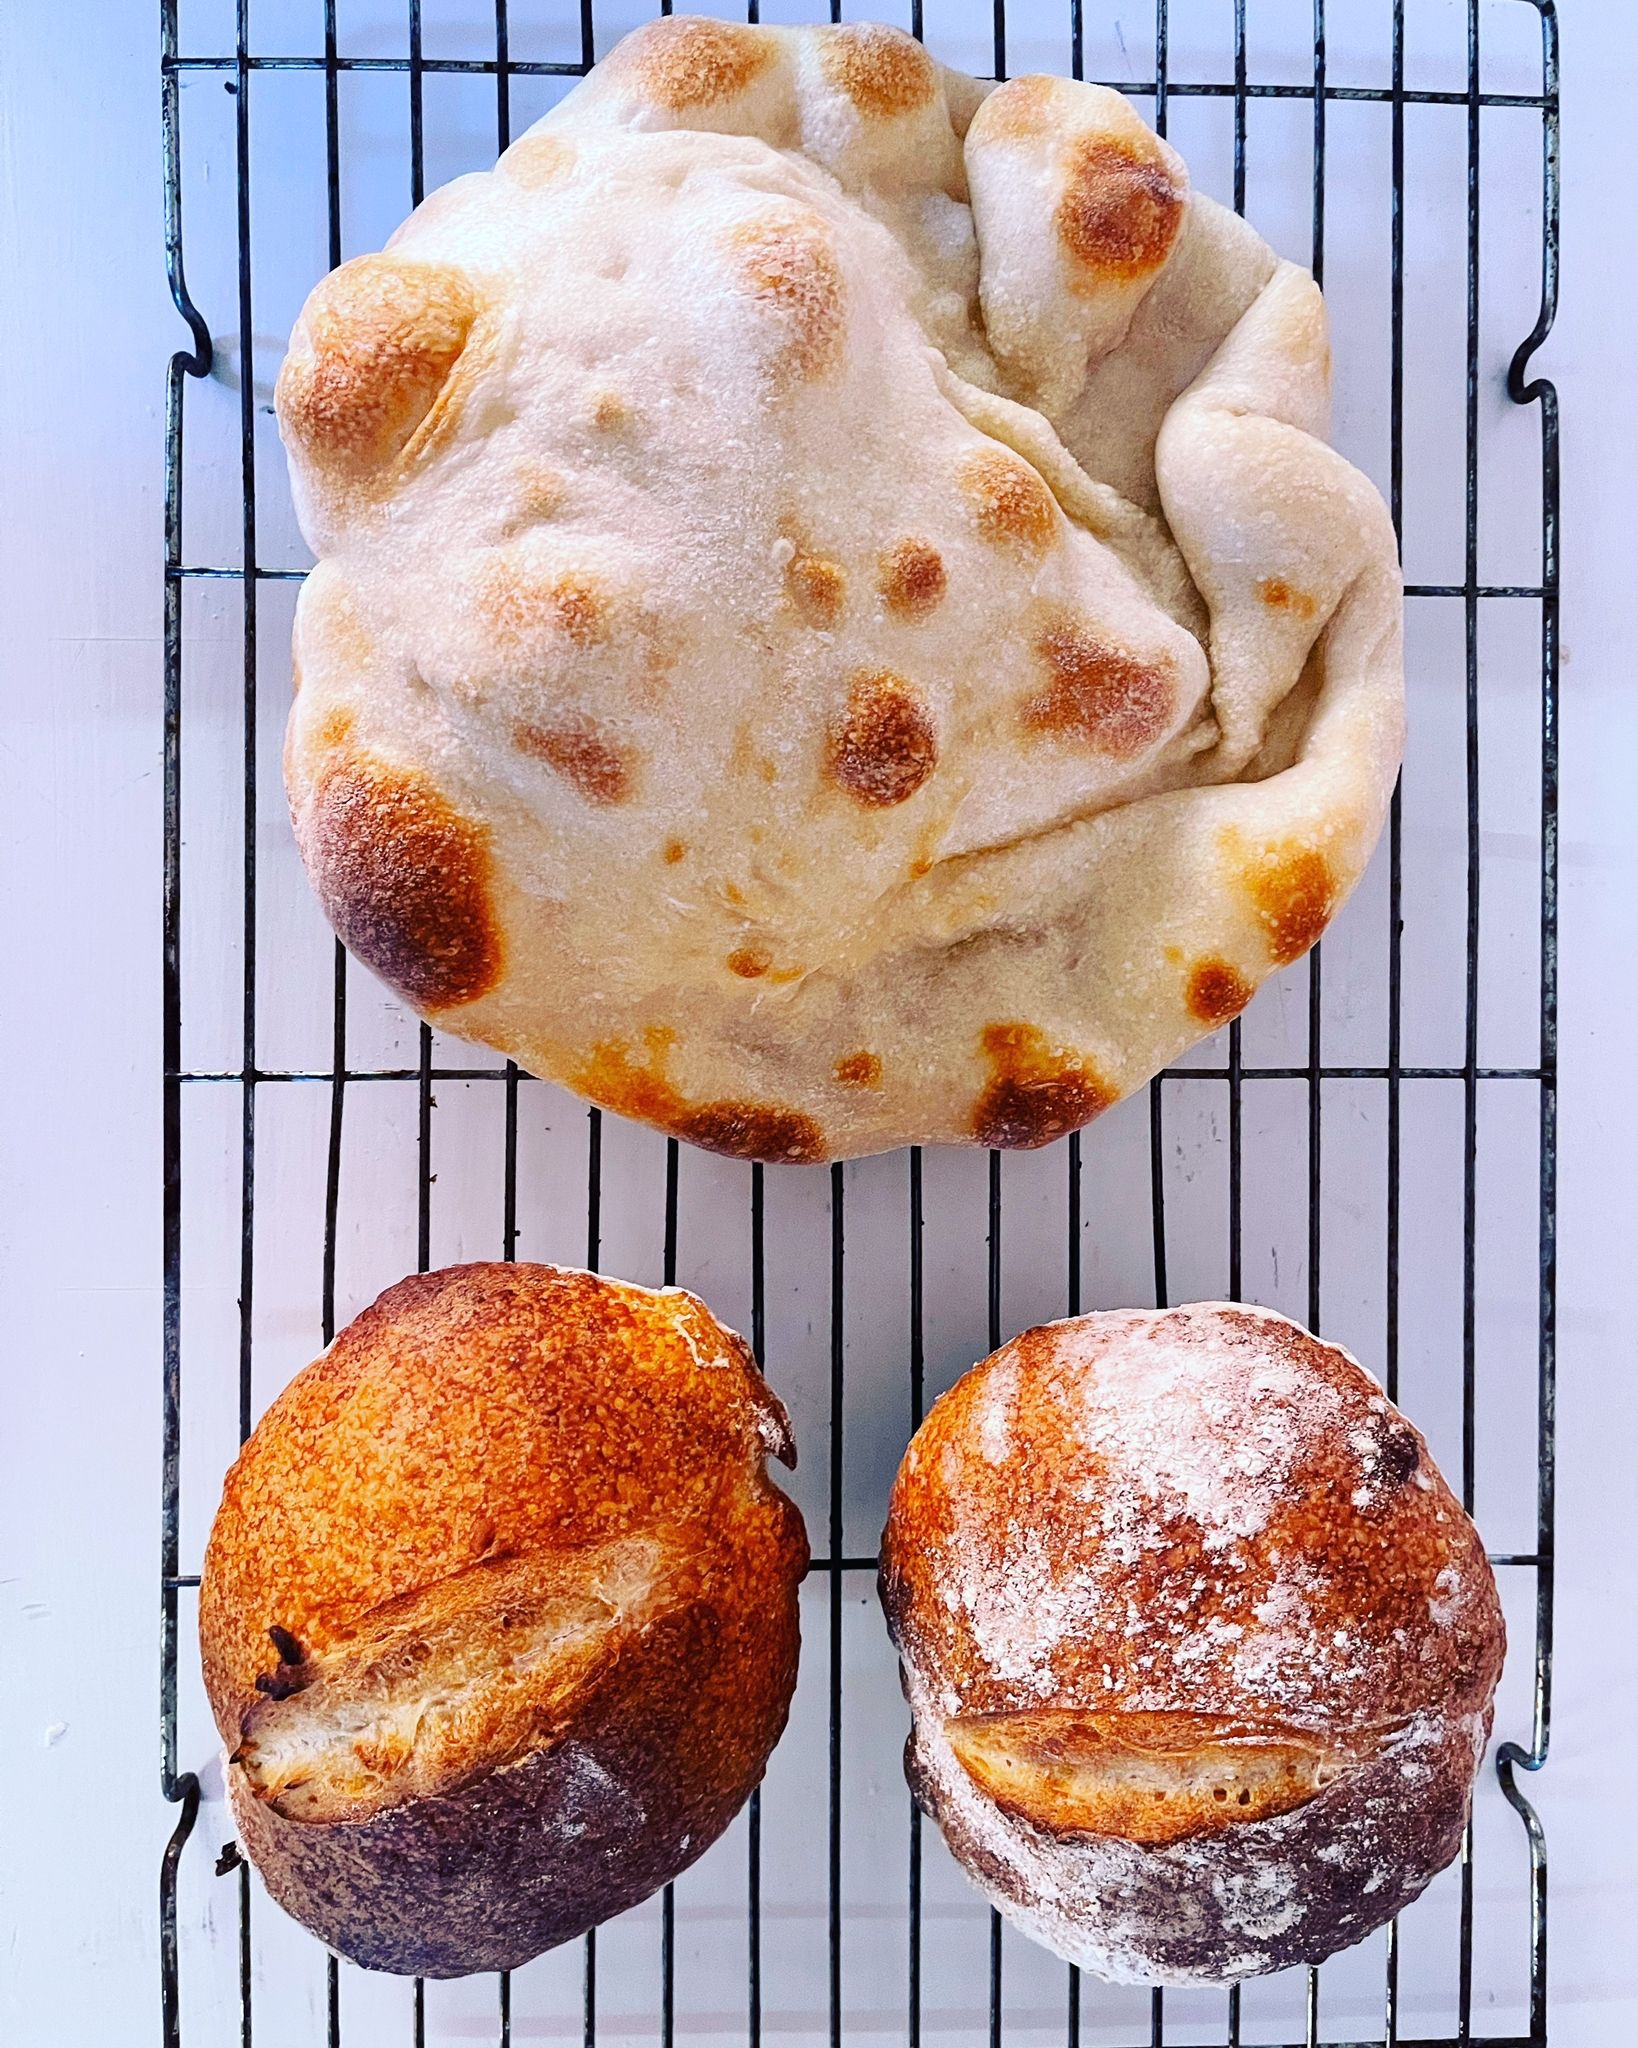
This next set of photos above show the dough after the additional 12 hours of proofing. Here you can see the stretched pizza has much larger air bubbles and has a much better amount of fermentation. I cooked it in a dutch oven and then made a couple of small loafs of bread with the remaining dough balls.

In the above photo you can see the difference between the bread made after 4.5 hours of proofing and that made after 16 hours. The longer proof time shows much more evenly distributed pockets of air and a lighter crumb. The bread cooked earlier is under-proofed and a little dense.
To recap, I have created this dough to be easy to stretch, top, and launch with a long window to work within.